
Last updated November 16, 2026
 Wrought iron
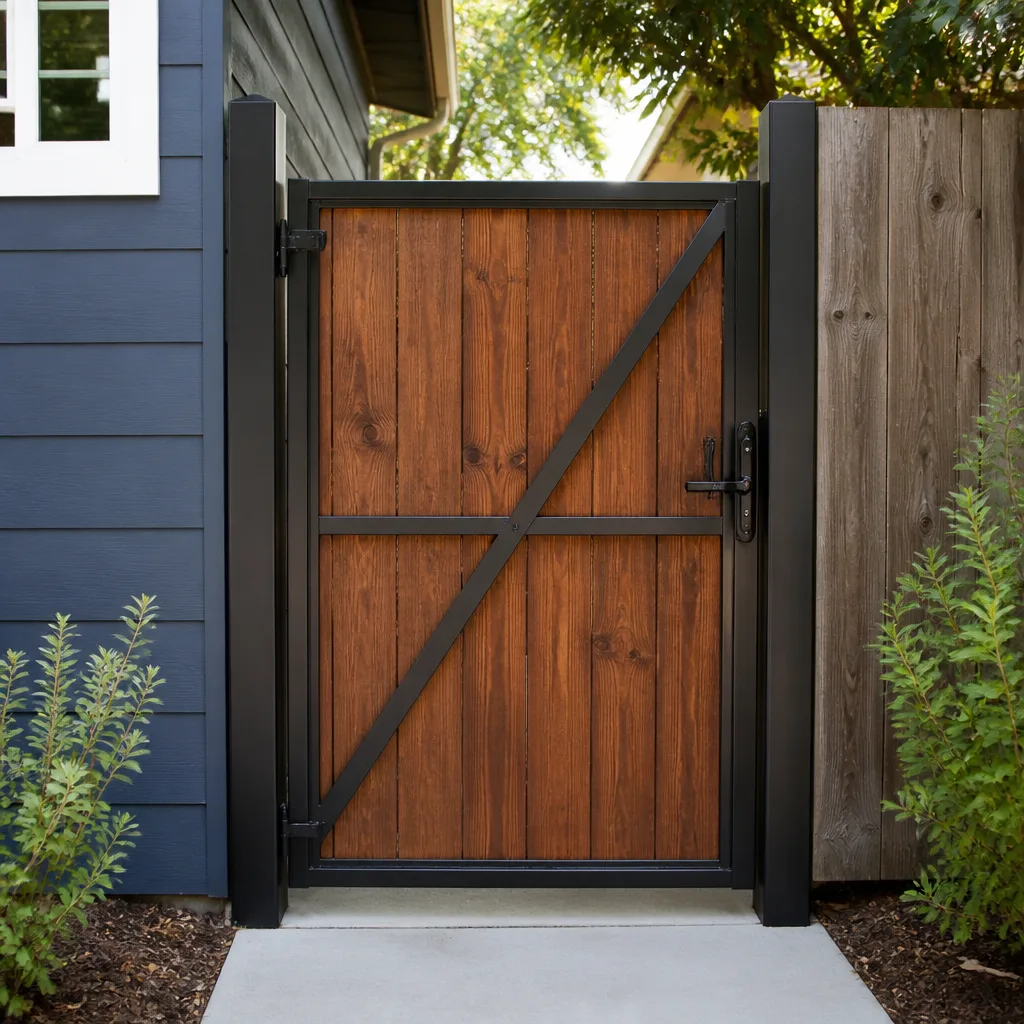 Wood & steel frame
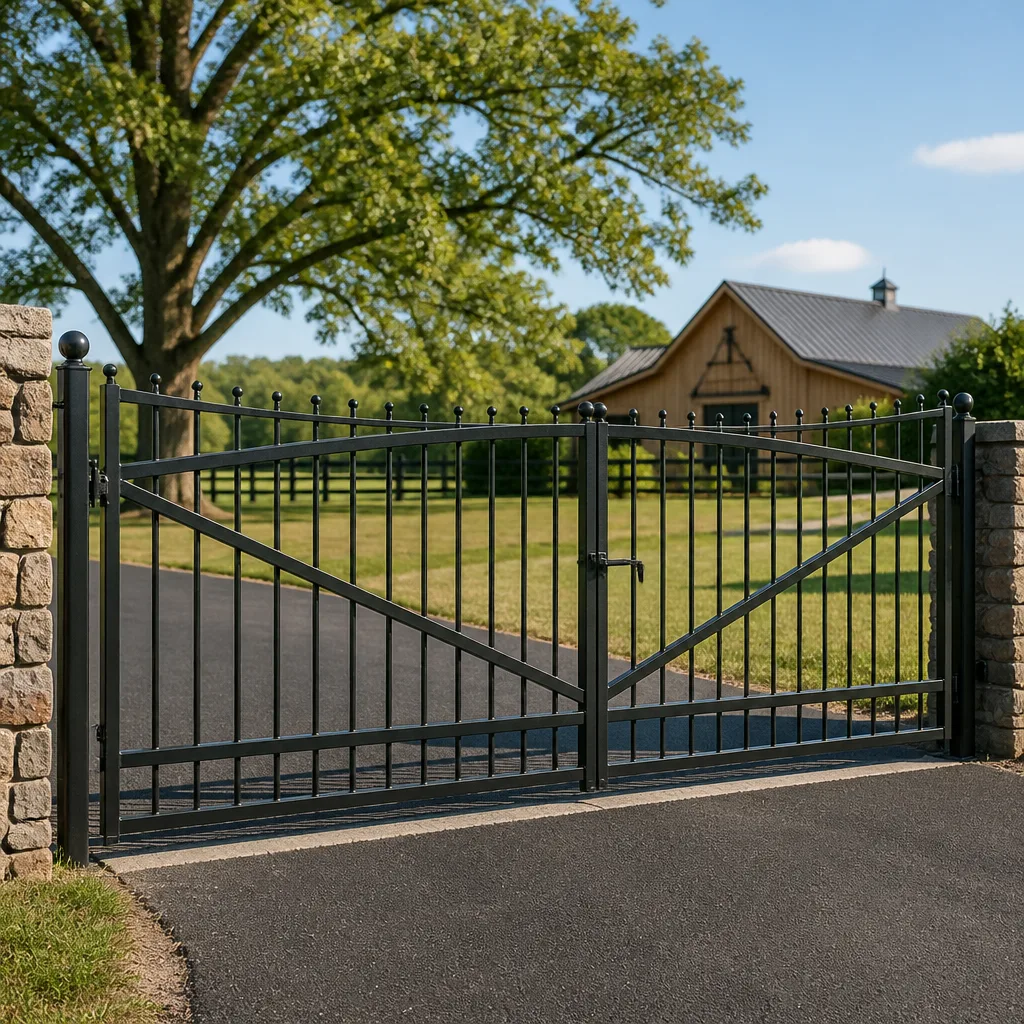 Farm & ranch
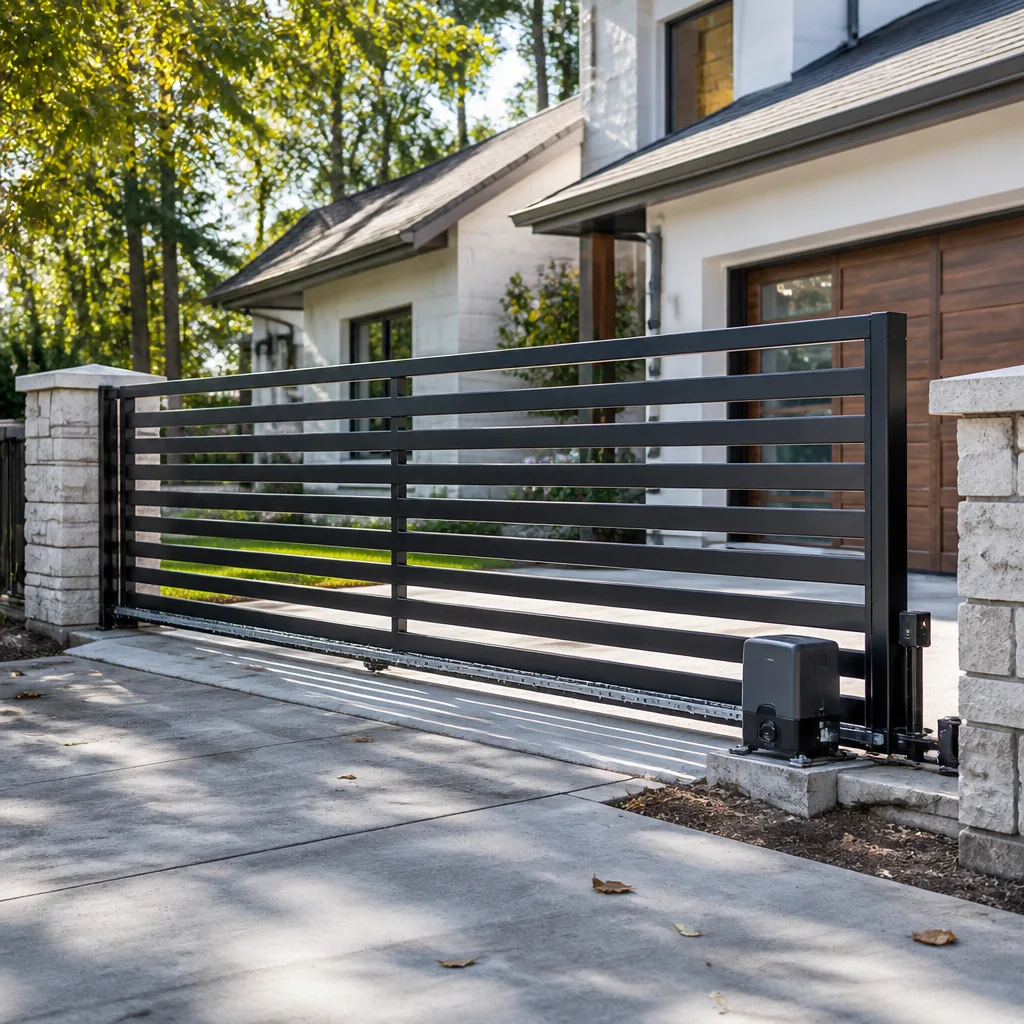 Sliding driveway gates
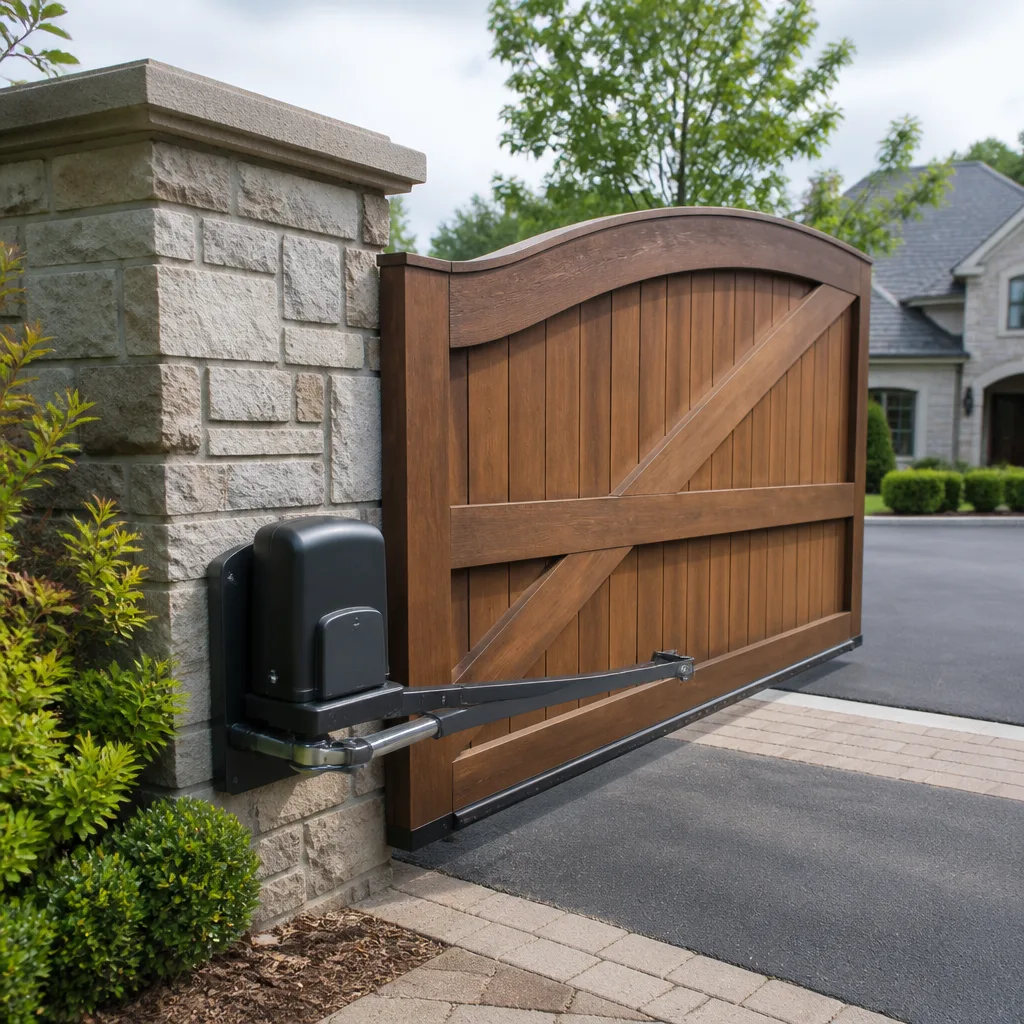 LiftMaster operators
Free on-site gate assessment - hinges, posts, and your LiftMaster or Nice gate operator checked before anything is quoted
The assessment is free and the quote is the invoice.
Get your free estimateGate Installation Warning Signs Every Homeowner Should Know
A gate that swings smoothly on installation day can still be installed wrong. The failures that matter are slow, and most of them are sealed behind concrete before the crew pulls out of your driveway. In our experience working Mesquite neighborhoods from Sun City to Highland Hills, the installations that come back to haunt a homeowner are rarely the ugly ones. They’re the ones that looked fine for five or six months, then started to sag, bind, or quit entirely just as the driveway started getting daily use. This guide shows you what to inspect while the crew is still on-site, the specific ratios and details cut-rate installers skip, and the one walk-around test you can do yourself before anyone drives away.
Quick Answer
The clearest gate installation warning signs are undersized posts, a gate that isn’t plumb, exposed or unprotected wiring, and automation controls mounted where heat will cook them. If you can see a post leaning, a gap that widens within weeks, or a splice with no conduit, the installation has a problem that will surface in month six, not month one. Check these details the day the crew installs the gate, while the conversation about fixing them is still cheap.
Styles & brands we work with
- Wrought iron
- Wood & steel frame
- Farm & ranch
- Sliding driveway gates
- LiftMaster operators
Table of Contents
- Why the Worst Gate Installations Fail in Month Six, Not Day One
- Post Depth and Diameter: The Ratios Cut-Rate Installers Ignore
- How to Spot a Gate That Isn’t Plumb
- Red Flags in the Wiring Run
- Automation Boards and Desert Heat
- What a Written Warranty Should Actually Contain
- The Walk-Around Test You Can Do Yourself
- What Mesquite Homeowners Should Know About Local Conditions and Permits
Why the Worst Gate Installations Fail in Month Six, Not Day One
The gate that fails on installation day is easy. It drags, it grinds, it squeals, and you call the installer back before you’ve unpacked the groceries. The gate that fails in month six is the one that cost you real money. By then the concrete has cured, the crew has moved on to the next job, and the warranty conversation has gotten complicated. We’ve seen this pattern repeat across Mesquite, and it almost always traces back to something the installer should have caught on the day, not something you did wrong afterward.
There’s a reason the failure arrives at six months. In a hot desert climate, gate metal and concrete expand and contract through a full season before the weak points reveal themselves. A post that was set six inches too shallow will hold through a mild spring. It won’t hold once a heavy wind and a summer of heat cycling have worked on it. An undersized post will look solid until the gate starts to load it unevenly and a two-degree lean becomes a visible gap. An unprotected splice will function perfectly until the first monsoon moisture finds the exposed copper.
Here’s the harder truth: the signs that predict a premature gate installation failure are invisible to most homeowners. They aren’t in how the gate looks. They’re in how it was installed, and in details that get sealed under concrete or buried in a trench. That’s why this guide focuses on inspection, not on appearance. A gate can look perfect and still be wrong underneath.
We’ve built a practice around this because Mesquite’s homes are mostly owned by people who plan to stay. This isn’t a rental property where a gate that lasts two years is somebody else’s problem. If you own your home here, you’re thinking in decades, not seasons. The installation you approve this month is one you’ll live with for a long time, so it’s worth getting right while the crew is still on your property.
Post Depth and Diameter: The Ratios Cut-Rate Installers Ignore
The single most common installation failure we see is an undersized post. A gate is a lever, and the post has to resist the load. When a cut-rate installer saves on materials, the post gets smaller, and the gate gets flimsy in ways you won’t notice until it starts sagging.
There are working ratios that experienced installers follow. Post diameter should scale with the gate’s weight and width, not with what looks tidy. A heavy driveway gate needs a proportionally heavier post diameter, and there’s a relationship between the width of the gate leaf and the strength of the post that holds it. When someone quotes a gate at a price well below what other Mesquite installers are asking, ask which posts they’re specifying. Those post specifications rarely get shared in writing, and when you ask, you’ll notice the number is smaller than the gate calls for.
Post depth matters just as much. A post set too shallow will hold initially and fail later. The concrete that surrounds the post has to be deep enough to resist the sideways pull of the gate as it swings. When an installer sets the post just deep enough to look done, the failure shows up as a lean, and the lean is not free.
Here are the questions to ask before work begins:
- What post diameter did you specify for this gate weight?
- How deep is the post set, and how many inches of concrete surround it?
- Is the post reinforced, and if so, what’s the bar size and count?
- Are the post foundations sized to the gate’s actual weight, including the automation hardware?
- Will the post depth be recorded in the written quote?
If an installer can’t answer those questions, that’s the warning sign. Ask at the quote stage, not after the concrete sets. You can find more detail on how we size and set posts on our Gate Installation in Mesquite page.
How to Spot a Gate That Isn’t Plumb
A gate that isn’t plumb is a gate that’s already failing, even if it swings smoothly the day it’s installed. “Plumb” means the gate and its posts are truly vertical. It’s the foundation of everything the gate does, and it’s the thing most installers skip when they’re rushing a job. We’ve seen a two-degree lean become a six-inch gap within two seasons in Mesquite, and the corrective work is not a small repair.
Here’s why the lean appears so slowly. When a gate is installed out of plumb on day one, the misalignment can be nearly invisible. Over the following weeks and months, every swing pushes the gate against the misaligned post. Metal and concrete respond by moving. The gap at the latch side opens. The gate starts to bind in the frame. By the time the homeowner calls us, the diagnosis is usually a post that was never square, not a gate that wore out prematurely.
You can check plumb yourself without special tools. Bring a spirit level to the post and hold it against the side of the post, then against the face. A level that shows a lean is a level that shows a problem. On the gate itself, compare the distance from the latch side of the gate to its frame on both sides. If the gap isn’t even top to bottom, top to bottom on both leaves, you’ve found a problem worth raising before the crew leaves.
The fix for an out-of-plumb installation is not a hinge adjustment. It’s resetting the post, which means removing concrete and starting over. That’s why the check has to happen the day of installation, not three months later when the gap has opened.
Red Flags in the Wiring Run
If your gate has automation, the wiring run is where corners get cut most quietly. Exposed splices, wire run without conduit, and connections left where water can find them are all common. They’re also the failures that are hardest to spot once the trench is backfilled and the driveway is finished.
Walk the wire path with the installer before they cover it. The specific things to look for:
- Splices inside a weatherproof junction box, not wrapped in tape and left in the open
- Wire run inside conduit for its full length, particularly where it crosses a driveway or runs underground
- Conduit properly sealed at both ends so moisture and insects can’t enter
- Low-voltage control wiring kept separate from any high-voltage wiring path
- A documented wire run on the site plan, so the next technician can find it
The splice is the biggest tell. A splice taped and left in the desert sun will fail, and when it fails it may take the automation board with it. A properly installed system keeps every splice inside a sealed junction box, with wire protected by conduit for the full run. If your installer wants to bury a splice in tape or leave a wire exposed in the trench, that is exactly the moment to ask questions. We cover automation wiring and motor service on our Gate Motor & Opener in Mesquite page.
Automation Boards and Desert Heat
Solar gain is the quiet killer of gate automation in Mesquite. The boards and controls in a modern gate operator are electronics, and electronics in direct sun on the side of a metal housing can reach temperatures well above the outdoor air temperature. When the board is mounted where it sits in direct afternoon sun with no shade, its service life shortens, and you start getting the intermittent faults that nobody can diagnose until the board fails outright.
The installation question to ask is not just “which brand of opener.” It’s where the control housing is mounted and whether it has shade during the hottest part of the day. The four brands we’re called out to service most in Mesquite – BFT, Linear, Viking, and Ghost Controls – all make durable hardware, and all of them will fail early if the housing is left in full sun with no ventilation. A shaded mount, a vented enclosure, or an interior mounting point for the control board makes a real difference.
The same heat that punishes the board punishes the battery backup and the wiring insulation. A gate automation installation in Mesquite should account for summer heat in how the housing is placed and how the wire is protected. When we specify an operator, the placement of the housing gets as much attention as the brand of the motor. Our Gate Repair in Mesquite team sees the results of heat-related failures regularly, and the pattern is consistent enough that we factor it into every install we scope.
What a Written Warranty Should Actually Contain
Verbal assurances mean nothing. A handshake, a “we stand behind our work,” and a promise to come back are not warranties. A real warranty is a written document that specifies what’s covered, for how long, and what happens when the covered item fails. If you don’t have it in writing, you don’t have a warranty.
Here’s what a written gate installation warranty should contain:
- The covered components, named specifically – post foundations, hinges, welds, the automation board, wiring, the motor
- The duration of coverage for each component, since these differ
- What the warranty does not cover, so you know the boundaries up front
- The process for making a claim, including who to call and how soon to expect a response
- The remedy if the covered component fails – repair, replacement, or refund
- The start date, the end date, and the signature of an authorized representative
At Ironworks Gate Co. we put our guarantee in writing on every job. Our 90-Day Done Right Promise says that if the work isn’t right, we come back and make it right – no paperwork, no arguing, no exceptions. But that’s our written commitment to you, and we intend for you to hold us to it. Insist on a written warranty from any installer you hire, and read the “what’s not covered” section before you sign.
One thing the warranty should never do is escape the discussion. If the installer is vague about the written warranty, or offers only a one-year verbal assurance, that is a warning sign. A company confident in its work is glad to write it down.
The Walk-Around Test You Can Do Yourself
Here’s the test you can run the day your gate is installed, before the crew drives away. It catches about eighty percent of the installation mistakes we see. You don’t need tools beyond a spirit level and your own eyes.
- Check plumb on the posts. Hold a level against each post face and side. Any visible lean is a problem worth raising before the crew leaves.
- Open and close the gate by hand, slowly. It should move evenly, without binding at any point. If it catches, drags, or requires a shove at one point in the swing, that’s a hinge or post issue.
- Measure both gaps at the latch side. Top and bottom should match. A tapering gap is a sign of misalignment.
- Inspect the wiring path. Walk it with the installer. Every splice should be in a sealed junction box. Wire should be in conduit for the full run.
- Look at the control housing placement. Is it shaded during the hottest part of the day? Is the housing vented or sealed against dust and moisture?
- Test the automation through a full cycle with the motor. Watch for intermittent stops, unusual noise, or a slow spot in the travel. Note any behavior you see, and ask the installer to address it before they leave.
- Get the written warranty in hand. Don’t accept a handshake. The warranty document should be on your counter before the truck pulls away.
Run this test and take notes. If the installer is on-site and has to fix something, the fix is fast and free. Three months from now, the same fix might be a repair you pay for.
What Mesquite Homeowners Should Know About Local Conditions and Permits
Mesquite’s climate is not a soft one for gate hardware. Summer highs push well past 100 degrees, and the temperature swings between day and night stress metal and concrete through the season. The gate hardware that survives in coastal climates does not automatically survive here, and a Mesquite installation has to be specified for the load and the heat, not for a generic template.
If you’re in Sun City Mesquite, you’re probably in a community with its own architectural standards for gate appearance and placement. Those standards are usually the homeowner’s responsibility to check before the crew arrives. If you’re in Highland Hills or a surrounding neighborhood, you may run into HOA guidelines or local permitting depending on the gate height, the automation, and the property line. When we scope a job, we ask about HOA standards and any permit the installation requires, because a gate that’s out of compliance with community rules is a gate that will have to be changed later.
There’s also the daily-use factor. Mesquite homeowners use their driveway gates more than a coastal homeowner, because they’re often the primary entry point and they get opened multiple times per day. That daily cycle rate is hard on the moving parts, and it makes installation quality more important, not less.
Common Mistakes to Avoid
- Accepting a verbal warranty. A handshake and a “we stand behind it” is not a warranty. Get the guarantee in writing, with the covered components and the remedy specified. If the installer won’t put it in writing, that’s the answer you need.
- Skipping the post-depth conversation at the quote stage. By the time you ask, the concrete is already poured. Ask about post diameter and depth before you sign, and get the answer in writing.
- Letting the installer backfill the trench before you walk the wiring. Once the trench is covered, you can’t see the splice or the conduit run. Inspect before it’s buried.
- Mounting the control housing in full sun. In Mesquite, a housing that sits in direct afternoon sun with no ventilation shortens the life of the automation board. Check placement before the mount is finalized.
- Ignoring a small gap at the latch side. A gap that’s even on installation day can widen within a season. Measure it on day one, and measure it again after a month.
- Assuming HOA or permit compliance is the installer’s job. Community standards and local permits are often the homeowner’s responsibility. Ask the question before the work starts.
- Choosing the lowest bid without asking what was cut. The lowest bid usually shows itself in a smaller post, a shallower set, or a verbal warranty. The price is lowest for a reason.
See the difference
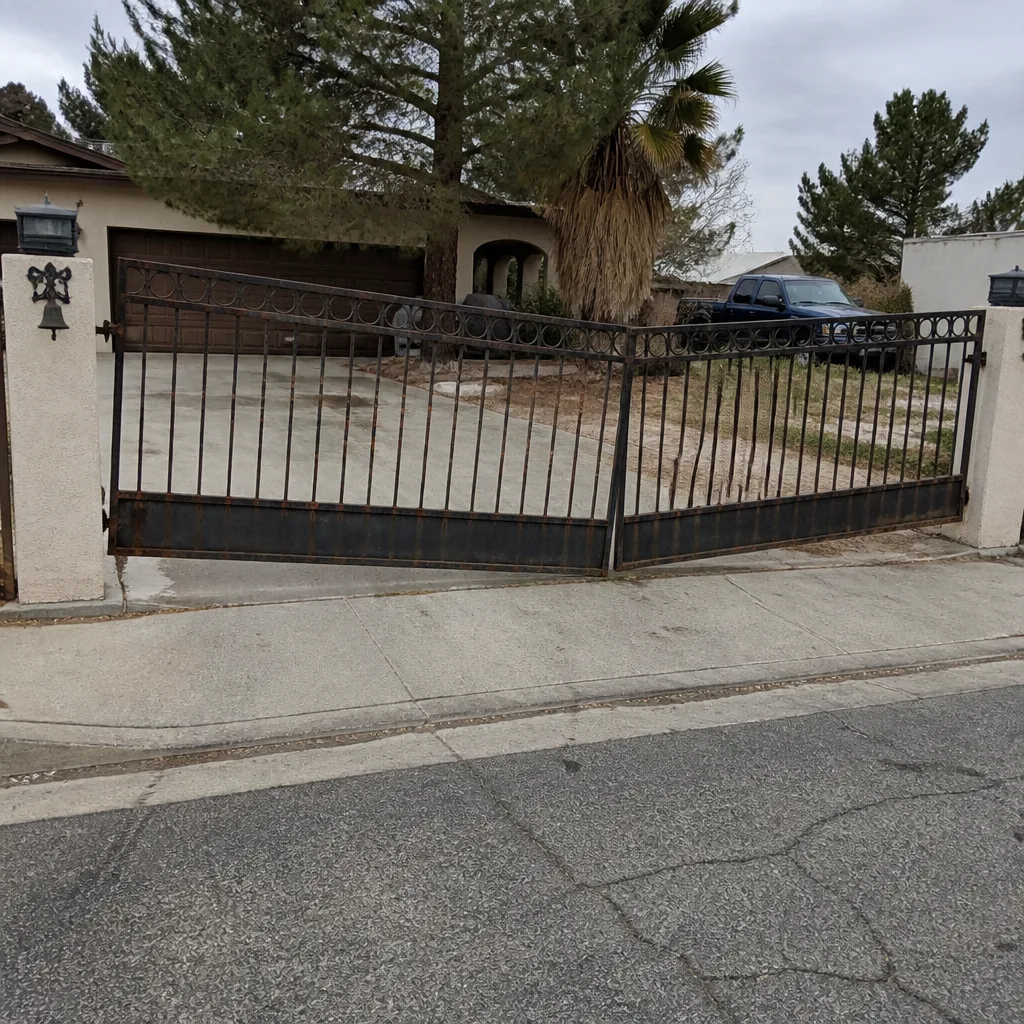 Before
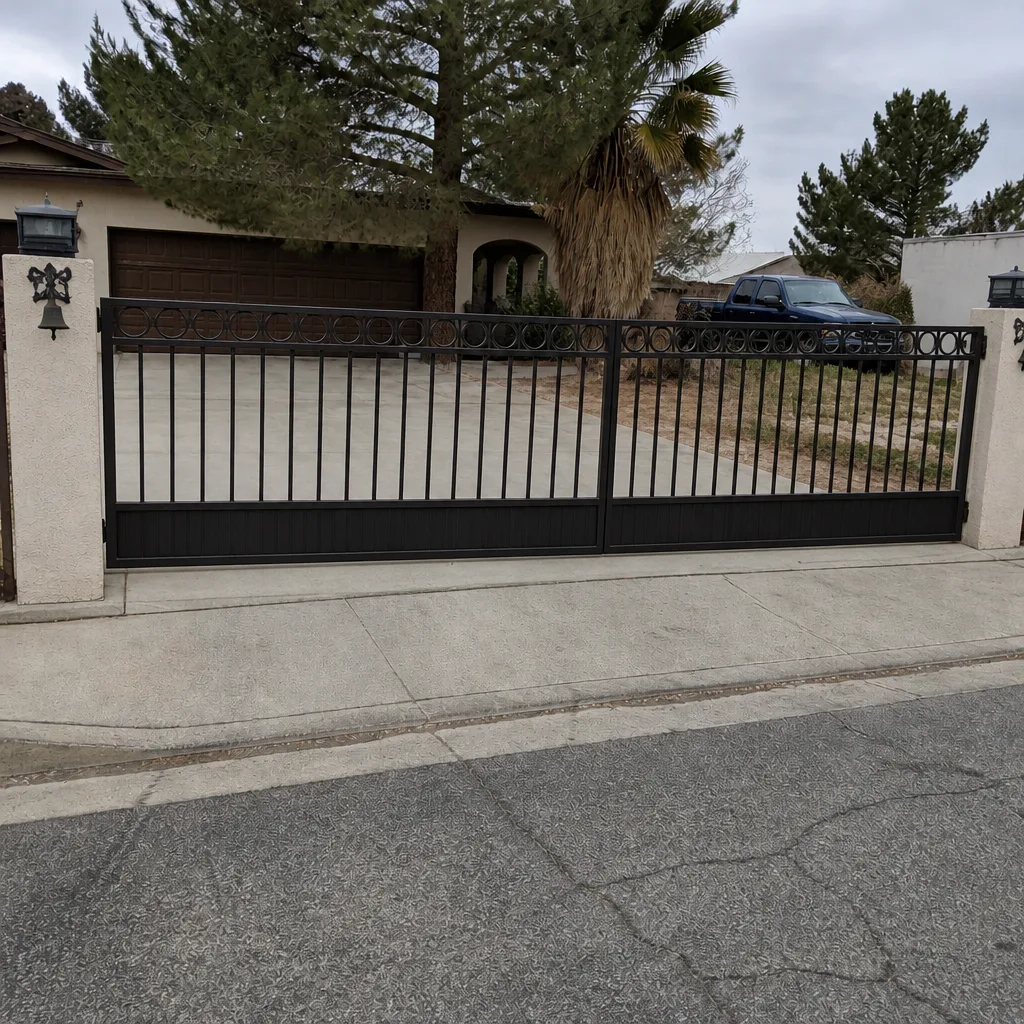 After
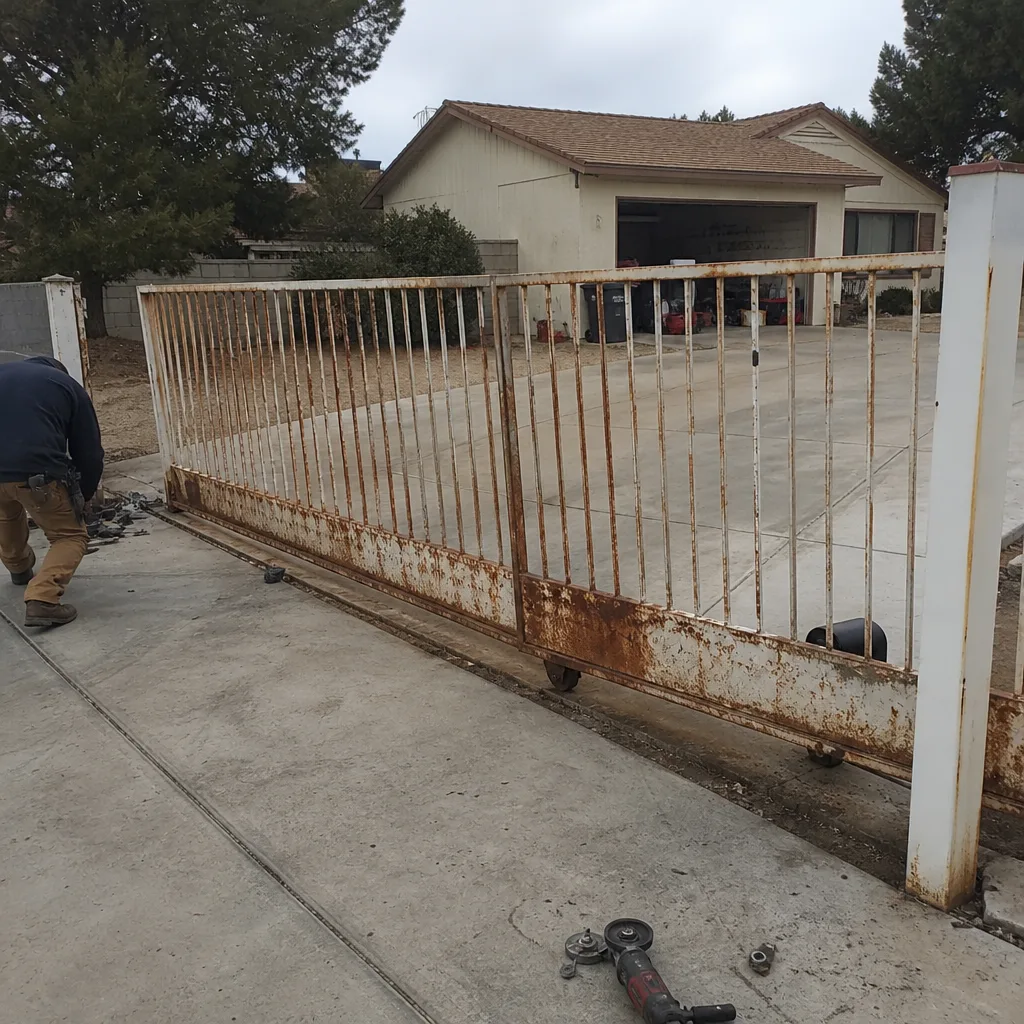 Before
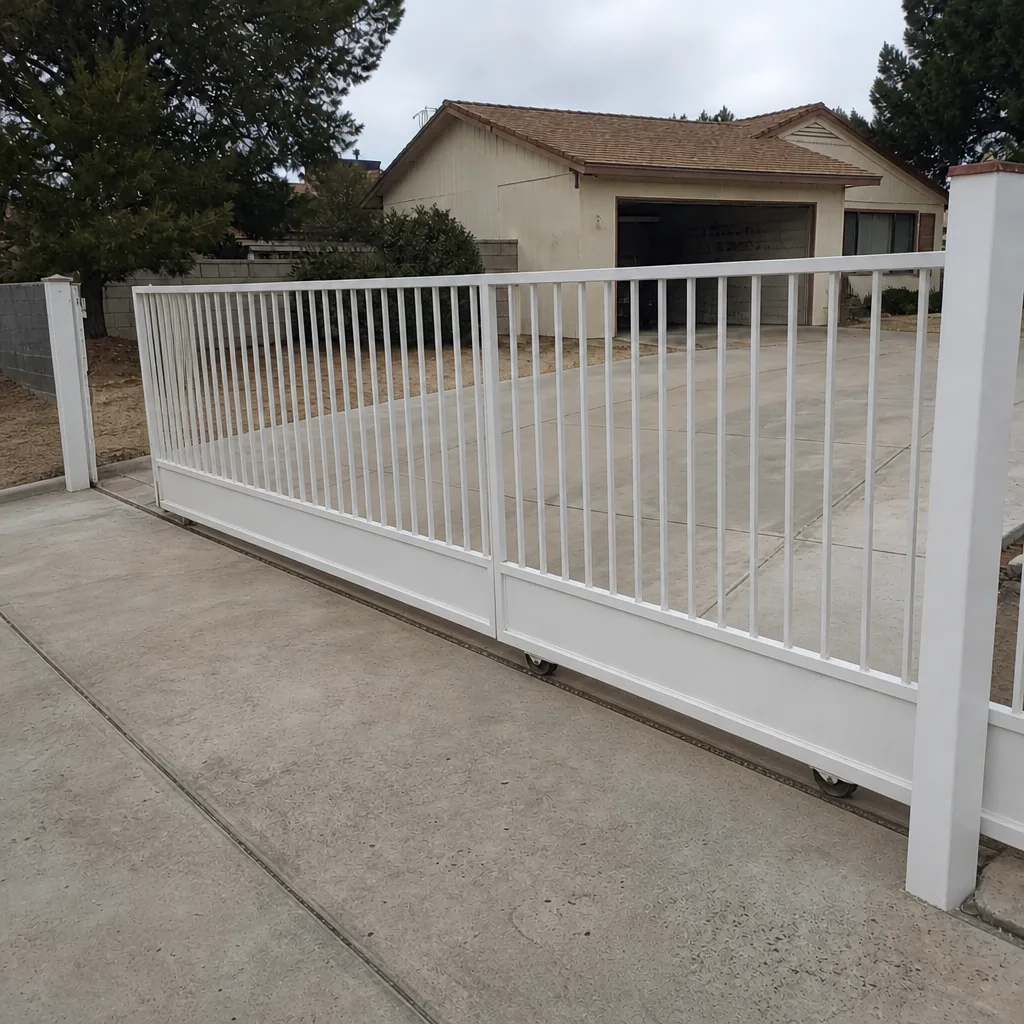 After
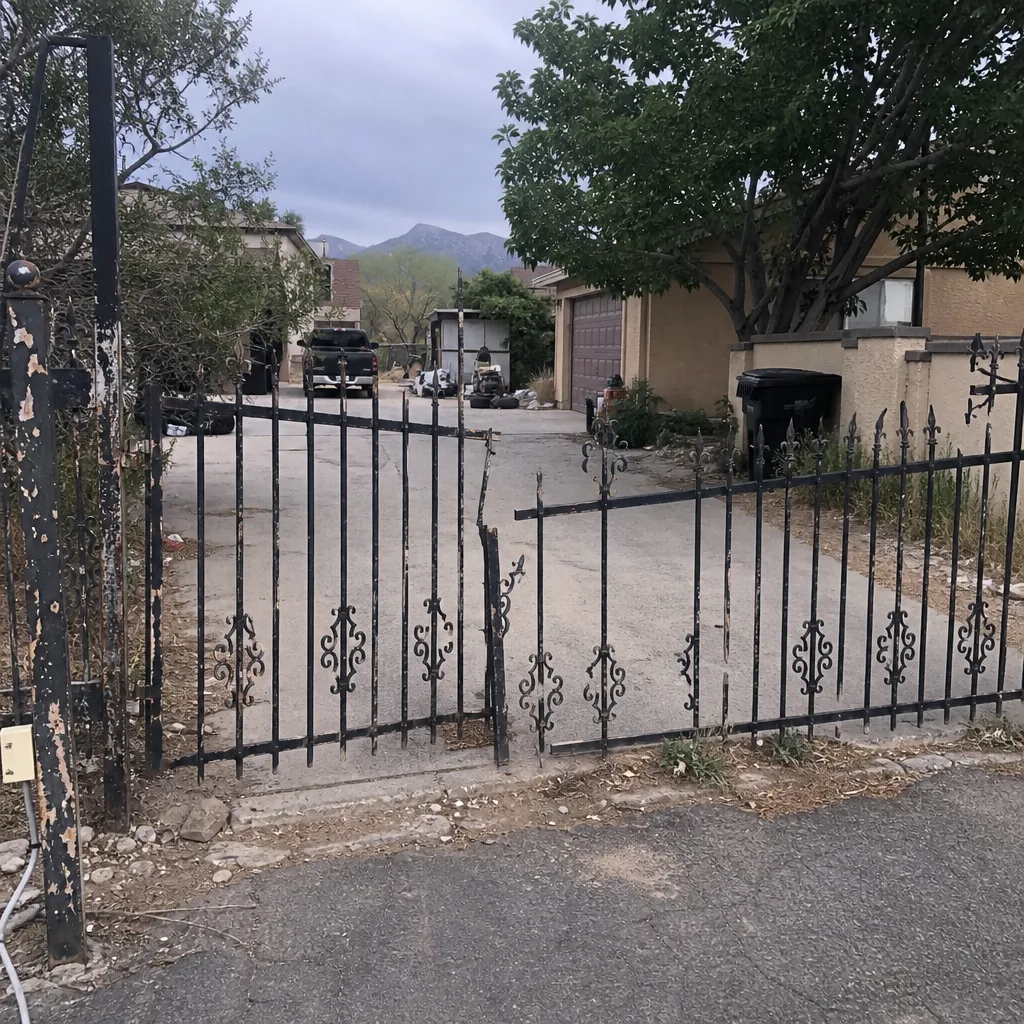 Before
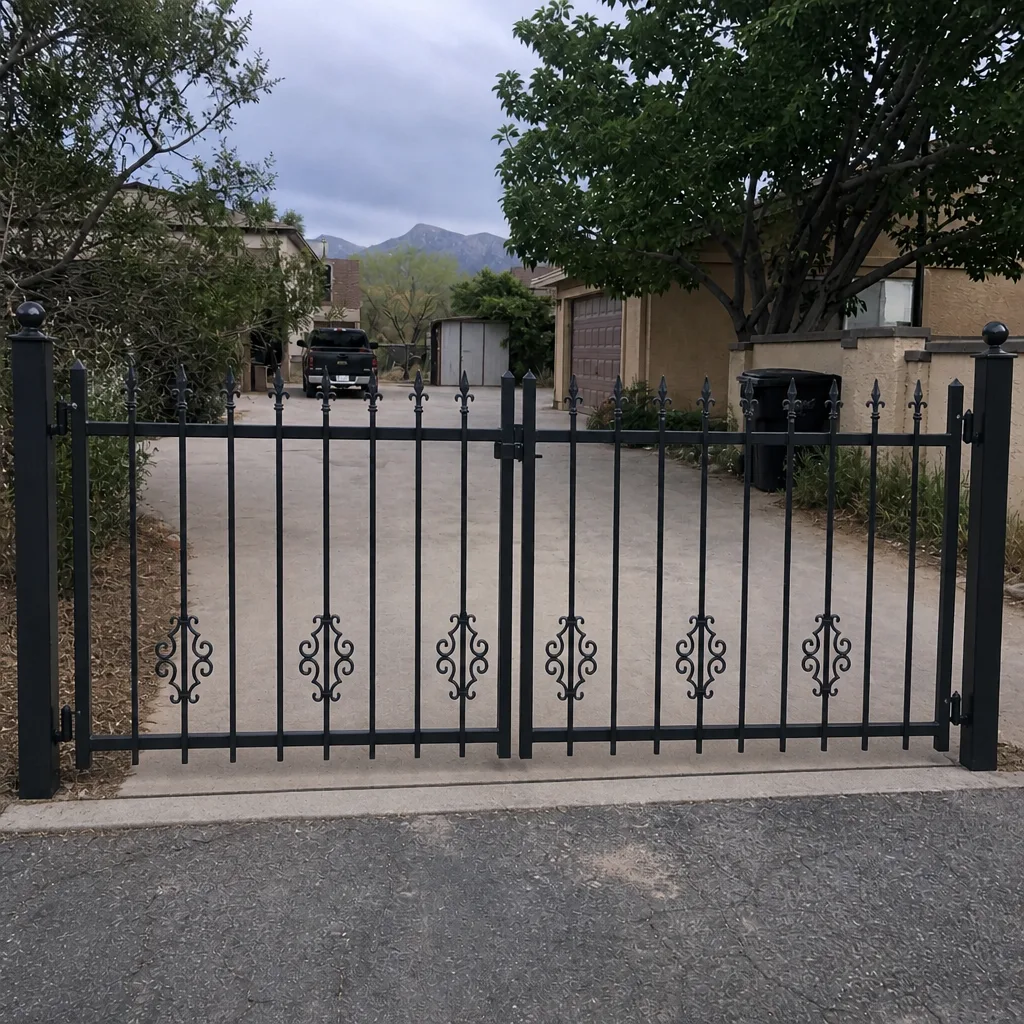 After
When to Call a Professional
Some installation problems are fixable by the homeowner, and some are not. A loose hinge can often be tightened. A gate that binds, a post that’s leaning, a splice in the open, or a control housing in full sun all require a trained professional. The post work and the automation work carry a real risk of injury if a gate falls, and the danger goes up as the gate gets heavier. We don’t recommend homeowners attempt post resetting or automation board work themselves. The right call is a professional, one who inspects before touching anything and quotes the price in writing before work begins.
If you’ve seen any of the warning signs in this guide and you’re in Mesquite, the practical next step is a free assessment. Ironworks Gate Co. Mesquite offers free estimates, and our technicians will look at the installation, tell you what they see, and quote before any work starts. If you have a written estimate from another installer that you’d like a second opinion on, we offer that at no cost too. Call (844) 797-2573 and a live person will answer, any time of day, any day of the week. Our team works across Mesquite and the surrounding communities, and you can start from our Ironworks Gate Co. Mesquite home page to see the full scope of what we do.
Frequently Asked Questions
The most common are undersized posts, a gate that isn’t plumb, exposed wiring with no conduit, and automation control boards mounted in direct sun. If you can see a post leaning, a splice that isn’t in a sealed junction box, or a gap that’s already uneven on installation day, that’s a gate that’s likely to fail. Raise it with the installer before the crew leaves.
The strongest predictor of premature failure in Mesquite is post sizing and depth, because the desert heat and temperature swings stress the foundation hardest. A gate with an undersized post or a shallow set may hold up through spring and fail in the summer season. Check the post diameter and depth at the quote stage, and check plumb on installation day. If either is wrong, the failure is likely within a few seasons.
Yes. Bring a spirit level and walk the gate with the installer. Check plumb on the posts, check the latch-side gap for evenness, walk the wiring path before it’s backfilled, and look at the control housing placement. Do a full motor cycle and listen for binding. With those checks you’ll catch the majority of common mistakes before the crew leaves.
A written warranty should name the covered components, the duration of coverage for each, what isn’t covered, and the remedy if a covered component fails. It should also state the process for making a claim. If you have a handshake and a verbal promise, you don’t have a warranty. Insist on the document before the crew leaves. Our 90-Day Done Right Promise is written on every job at Ironworks Gate Co., and we put it in the customer’s hands, not in a file.
Yes. Summer heat in Mesquite pushes temperatures inside an unvented metal housing well above the outdoor air temperature, and that shortens the life of the control board. When the housing is mounted in full afternoon sun with no ventilation, the board is the first thing to fail. Ask your installer where the housing will be mounted and whether it has shade during the hottest part of the day.
For a gate already installed, the best approach is a walk-around inspection with a trained technician, which we provide at no cost as a free estimate. For a written estimate you already have from another installer, we offer a free second opinion. Call (844) 797-2573 and we’ll schedule a time that works for you. Estimates are free, and the price is settled in writing before any work starts.
The Bottom Line
The worst gate installations don’t announce themselves on day one. They fail in month six, when the warranty conversation gets complicated and the crew has moved on. The warning signs are inspectable on the day of installation: post depth and diameter that don’t match the gate’s weight, a gate that isn’t plumb, a wiring run with exposed splices, a control housing in the desert sun, and a warranty that’s verbal instead of written. A written warranty and a walk-around inspection the day the crew installs are the two habits that catch most failures before the bill arrives. If the work passes inspection on day one and the warranty is in your hands, you have a gate you can expect to last. That’s the standard we hold ourselves to on every job in Mesquite.
If you have a gate installation in Mesquite you’d like inspected, or you’re scoping a new installation and want a written quote before work begins, call Ironworks Gate Co. Mesquite at (844) 797-2573. A live person answers around the clock, estimates are free, and our Gate Installation in Mesquite page walks through the full scope. If you need parts, welding, or a motor service, our Gate Repair in Mesquite team handles those too, and every job comes with our 90-Day Done Right Promise in writing.
Written by the team at Ironworks Gate Co. Mesquite.