
Last updated November 17, 2026
 Wrought iron
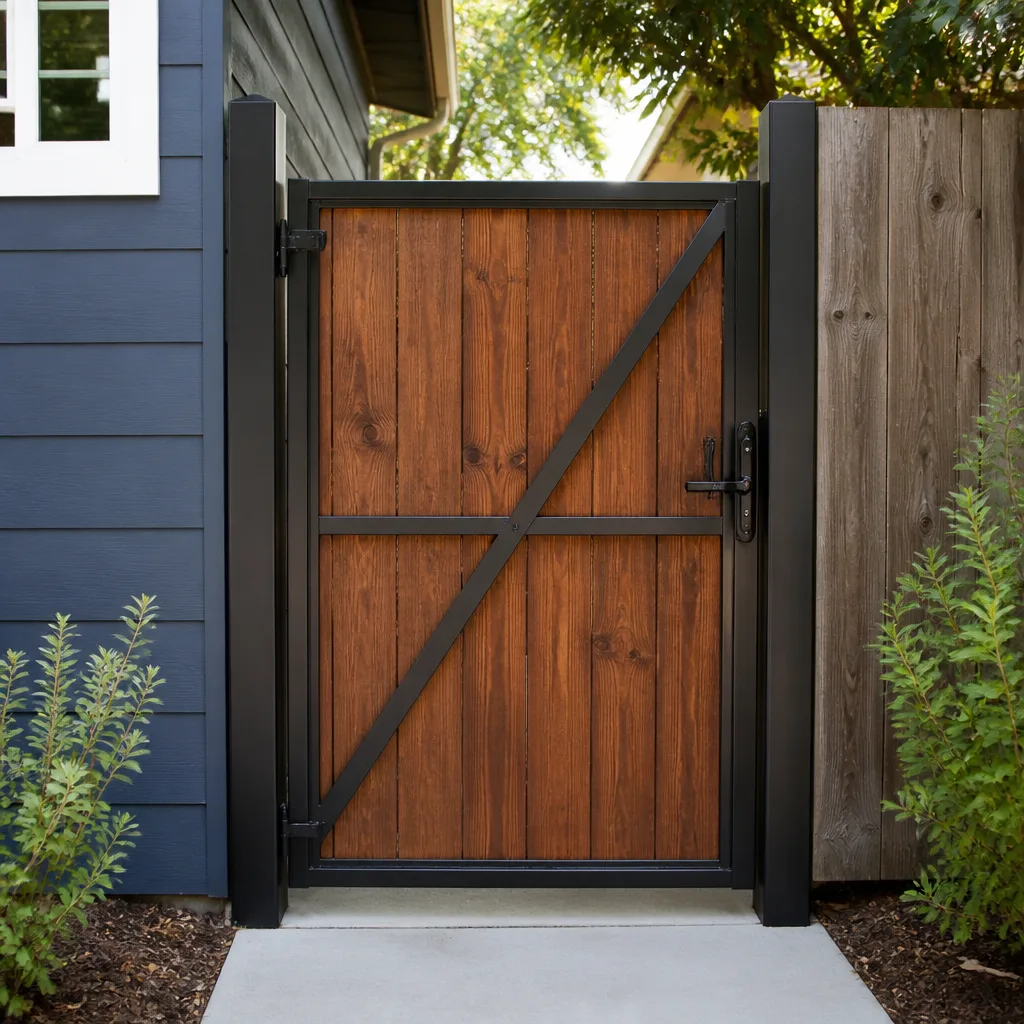 Wood & steel frame
 Farm & ranch
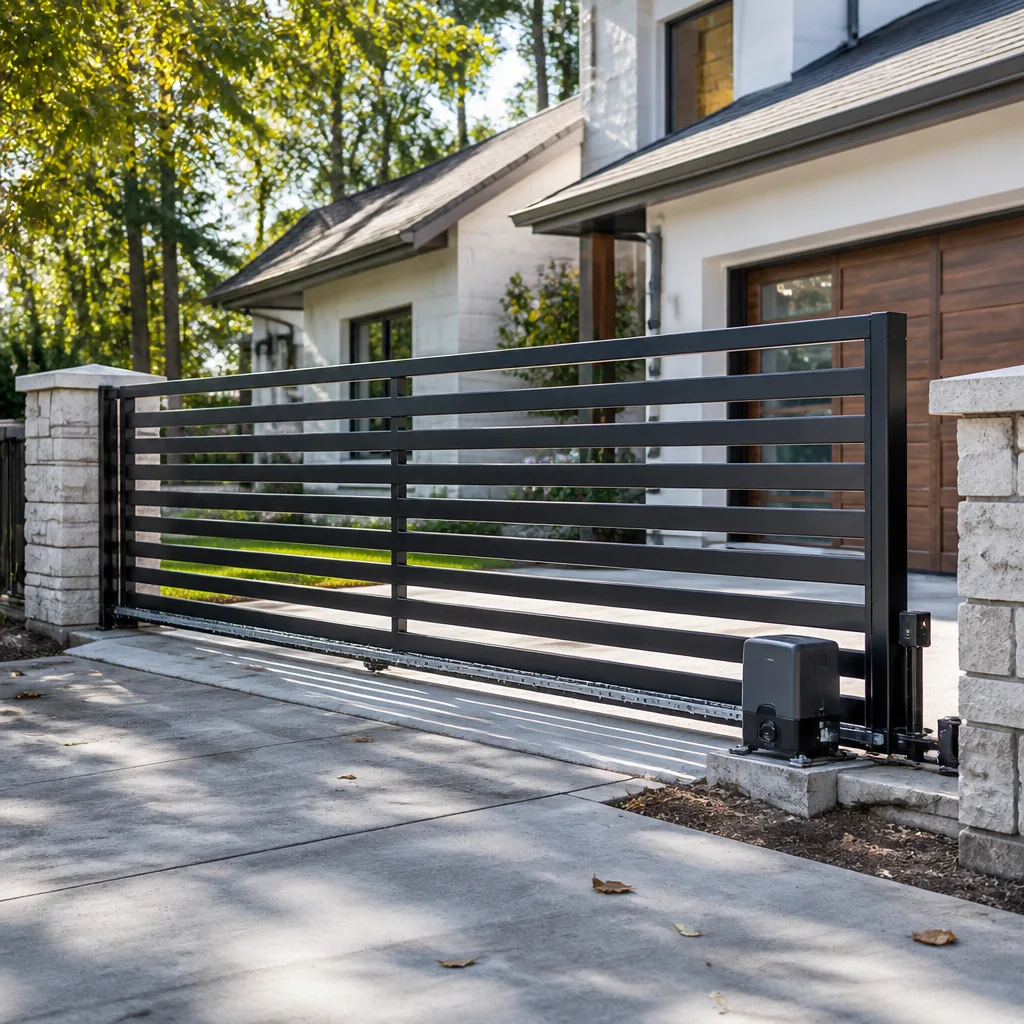 Sliding driveway gates
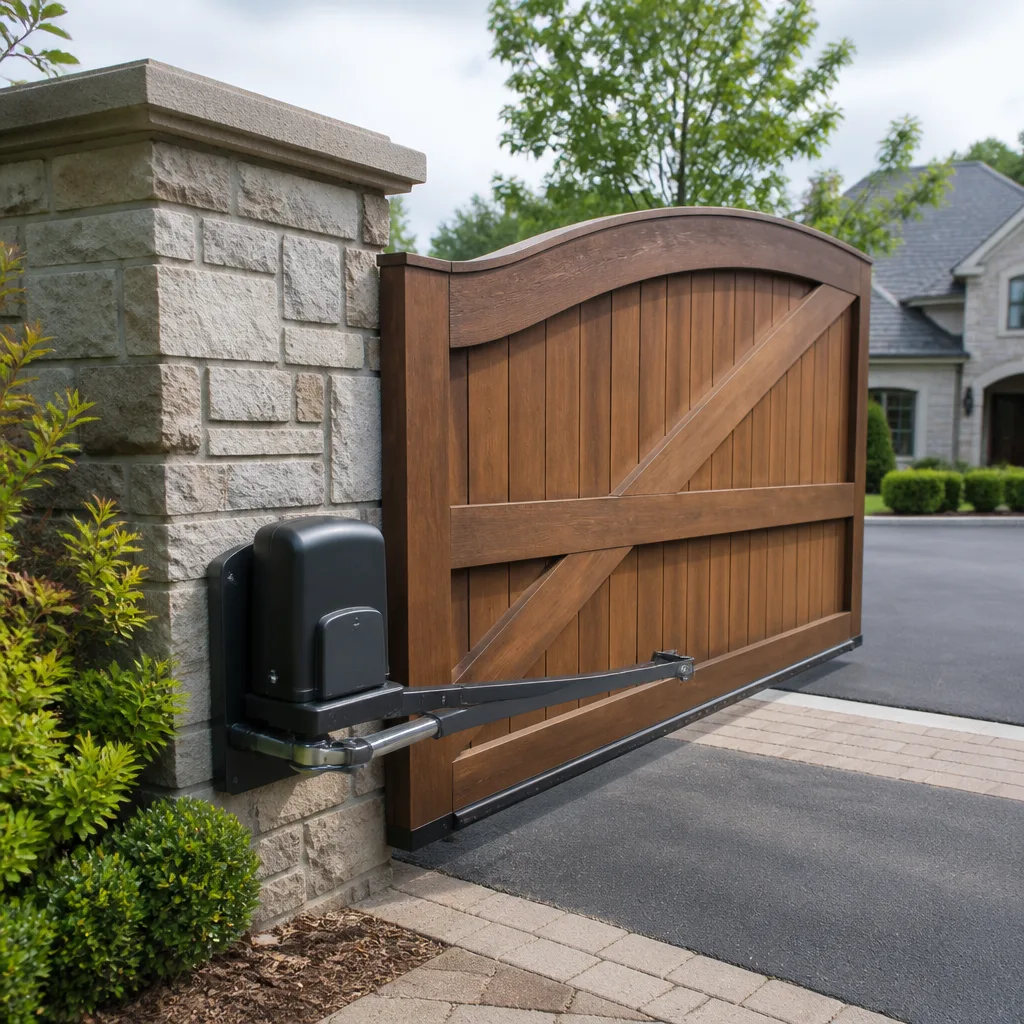 LiftMaster operators
Free on-site gate assessment - hinges, posts, and your LiftMaster or Nice gate operator checked before anything is quoted
The assessment is free and the quote is the invoice.
Get your free estimateDIY vs Professional Gate Motor & Opener: What’s Safe to Do Yourself
Mounting a gate opener bracket yourself is legal, low-risk, and YouTube-friendly. Wiring the transformer to your electrical panel without a permit is a different matter entirely. And in Clark County, that difference is the kind of thing that surfaces during a home sale inspection at exactly the wrong moment. This guide draws the line precisely: which phases of gate automation you can safely handle on a Saturday, which phases carry hidden liability, and where a Mesquite homeowner saves money by handing a wrench to someone who has done this nine brands deep. You’ll get a task-by-task breakdown, the permit reality, and the warranty language that voids coverage on a non-certified install.
Quick Answer
Mounting hardware, brackets, and low-voltage sensor wiring between the control board and safety edges is generally safe for a capable homeowner. Any line-voltage work – running 120V to the transformer, tapping a panel, or installing a disconnect – requires a licensed electrician and a Clark County permit, and doing it yourself voids the manufacturer warranty on brands like LiftMaster and Elite, complicates a future home sale, and creates a genuine shock hazard.
Styles & brands we work with
- Wrought iron
- Wood & steel frame
- Farm & ranch
- Sliding driveway gates
- LiftMaster operators
Table of Contents
- A Task-by-Task Breakdown of Gate Automation
- How Clark County Permits Apply to Gate Automation
- Which Warranty Clauses a DIY Installer Voids
- What Tools and Skill Level Each Phase Actually Needs
- Three Scenarios Where DIY Costs More in the End
- Safety Edges and Entrapment: The Part Nobody Should Skip
- Why Brand Matters: LiftMaster, Elite, FAAC, and Mighty Mule
- When to Call a Professional
A Task-by-Task Breakdown of Gate Automation
Gate automation splits into four distinct phases, and only two of them belong on a homeowner’s to-do list. Treating the whole job as one blob is where people get hurt, void their warranty, or end up with a gate that stalls halfway at 6 p.m. on a Friday.
Phase 1 – Hardware and bracket mounting: DIY-fine. Setting the operator bracket, aligning the gate arm, and bolting the mounting plate into a solid post are mechanical tasks. A drill, a level, and a socket set are the whole toolkit. If you can hang a heavy shelf on a stud wall, you can mount a bracket.
Phase 2 – Low-voltage wiring: DIY-possible, with caution. The wires between the control board and the safety sensors, keypad, and any loop detectors carry low voltage. Getting the pin assignments right matters, but a mistake here generally frustrates rather than injures. Read the manual twice and use the correct gauge wire for the run length.
Phase 3 – Line-voltage and panel work: licensed only. Running 120V power from your home’s panel to the transformer, installing a junction box, or adding a dedicated circuit for the operator is electrical work covered by code. In Clark County this requires a licensed electrician and an electrical permit. This is not a rule that bends because the run is short or the box looks simple.
Phase 4 – Calibration and commissioning: professional recommended. Setting the limit switches, tuning the obstruction sensitivity, and confirming the entrapment protection timing are the steps that determine whether your gate reverses on a child’s bicycle or a car bumper. Get this wrong and the gate has no idea what “safe” means.
How Clark County Permits Apply to Gate Automation
Any gate operator that draws house power is an electrical installation, full stop. In Clark County, adding a new circuit or extending an existing one to feed a transformer triggers a permit. That permit will be pulled by an electrical contractor, not the homeowner, and the fact that the operator itself sits outside on a driveway column doesn’t exempt it. Mesquite falls under the same county electrical code structure, and inspections here are handled the same way they are elsewhere in the county.
Why this matters for a home sale: an unpermitted electrical run is a disclosure item. It shows up on an inspection report, the buyer’s agent asks for documentation, and suddenly you’re paying for a retroactive permit and inspection a decade after the fact. Sometimes the fix is a hundred-dollar rewiring. Sometimes it’s a full redo of the panel tie-in plus a delayed closing. We’ve watched it cost Mesquite homeowners both money and time on a sale that was otherwise ready to close.
If you’re handling the low-voltage portion yourself and bringing in a licensed electrician for the panel side, keep every permit and inspection slip. That documentation is what makes the difference at a sale. For larger automation projects on estate gates, the permit path is well-trodden and quick – a professional gate service handles the coordination without the homeowner touching the paperwork. If you want to see how that process works end-to-end, our overview of gate motor & opener service in Mesquite walks through it.
Which Warranty Clauses a DIY Installer Voids
Every major gate opener brand carries an installation clause in the warranty that requires qualified, licensed installation for the coverage to apply. The wording varies, but the effect is consistent. Let’s be specific about the brands you’re most likely to be holding a box for.
LiftMaster: LiftMaster’s residential gate operator warranty typically requires installation by a professional dealer for the full multi-year coverage to remain in force. A self-install may leave you with a drastically shortened parts window, sometimes limited to the bare minimum. The control board, the most expensive single component, is where this hurts most.
Elite: Elite operators are widely installed on driveway gates in Mesquite because they’re built for the heat and dust. Their warranty documentation refers to qualified installation. A homeowner install on an Elite gate opener puts a service call for a failed motor or board squarely on your own dime.
FAAC: FAAC’s commercial and high-end residential operators have similarly worded requirements. The surge protection components in particular are only covered when the install meets their guidance, which includes the electrical work.
Mighty Mule: The most DIY-friendly of the group and honestly marketed as such. Mighty Mule is designed for homeowners to install. But “DIY-friendly” still means low-voltage sensor wiring at your skill level and a licensed electrician for the panel run – the same liability wall applies, even if the company is friendlier about the bracket work.
Replacing a failed control board on an Elite or LiftMaster keeper gate runs several hundred dollars on its own. Losing that coverage to save an installer’s fee is rarely a win. Our team at Ironworks Gate Co. Mesquite is trained across nine brands, so whether your driveway has a LiftMaster or a Mighty Mule, the correct fix happens on the first visit regardless.
What Tools and Skill Level Each Phase Actually Needs
Here’s an honest inventory, not a discouragement list. You should know exactly what you’re holding before you start, because the half-finished job is the one that hurts.
- Bracket mounting. Tools: drill with masonry bits, level, socket set, torque wrench. Skill: the equivalent of hanging a heavy mirror. Time for a first-timer: 1 to 2 hours.
- Gate arm alignment. Tools: the same, plus patience and a helper. Skill: mechanical reasoning. If the arm swings through the wrong arc, the gate will bind or slam. Time: 1 hour with a second person.
- Low-voltage sensor wiring. Tools: wire strippers, a multimeter, weatherproof connectors. Skill: you need to read a wiring diagram and match color codes to terminal blocks without guessing. Time: 1 to 2 hours depending on the number of sensors and keypad runs.
- Line-voltage run. Tools: a licensed electrician’s tools and a permit. Skill: requires a licensed electrician in Clark County. Time: half a day including the inspection window.
- Limit switch calibration. Tools: the manual, a level, and 30 minutes of trial-and-error. Skill: understanding how the operator’s obstruction sensitivity interacts with the gate’s physical travel. This is the phase most often botched by homeowners. Time: 30 minutes when done correctly, hours when you’re guessing.
- Safety edge and photo-eye verification. Tools: a test object (a broom handle and a cardboard box work) and a stopwatch to confirm reversal timing. Skill: reading and following the manufacturer’s entrapment protection requirement. Time: 30 minutes.
If any of steps 3 through 6 feel like a stretch, that’s normal. Most of our Mesquite customers who start a DIY install call us for the rear half of it, and we don’t think less of them. What we won’t do is finish a job someone abandoned mid-calibration without checking every safety input – the wiring can look right and the response be nowhere near it.
Three Scenarios Where DIY Costs More in the End
There is a version of gate automation where a homeowner saves real money. And there is a version where the savings turn into a second invoice. These three scenarios are the ones we see repeatedly, and each one has a predictable root cause.
1. Improper post loading
A gate opener doesn’t just push a gate. It introduces a lateral load on the hinge post during every open and close cycle. If the post was meant to carry a gate’s weight but not the operator’s torque, the post starts leaning. In Mesquite, it’s worse. The ground here is caliche-heavy and shifts with the heat, and a post that was snug in January can pull a quarter-inch out of true by August. A leaning post twists the operator arm, throws the gate off its stops, and puts stress on the motor the motor wasn’t designed to absorb. The fix is a new footing and a welded post reinforcement – far more than an installer would have charged to begin with.
2. Incorrect limit switch calibration
Set the limits too tight and the operator strains against the closed-gate stop. Set them too loose and the gate eases off the end of its travel and lets the safety reversal trigger a phantom reopen every few cycles. Neither will kill the operator immediately, but both shorten its working life and generate the “why does my gate keep opening again” call that dominates our summer repair queue. Calibration is 30 minutes in trained hands and an afternoon of guesses otherwise.
3. Missed ground bonding
The transformer, operator chassis, and any accessory metalwork should be bonded to ground. Skipping this is invisible until it isn’t. In a lightning belt like the desert spring thunderstorm season, a missing bond is the difference between a surge protector doing its job and a control board getting cooked. In a Mesquite monsoon week, we’ve seen it happen to multiple gates in the same neighborhood. The board replacement alone typically runs more than the entire install would have.
These three are why a half-finished DIY install is, in our experience, the most expensive version of the job. For driveway gates under loads like these, structural work and welding should not be improvised. Our gate repair service in Mesquite regularly rescues gates that were opened and closed under a bad calibration for a season before the failure signalled itself.
Safety Edges and Entrapment: The Part Nobody Should Skip
A powered gate is a moving machine capable of crushing a hand, a leg, or worse. The safety edge and photo-eye system is what stops it. If you’re going to be honest with yourself about what to DIY and what not to, entrapment protection is the line you don’t cross without a trained professional’s verification. The manufacturer’s manual will list specific entrapment protection requirements for your operator, and it is a safety code requirement, not a suggestion.
What to check rather than how to rewire it:
- Walk into the gate’s path while it’s closing. Photos eyes should trip and reverse the gate within the timing window the manual specifies. If it doesn’t, stop the gate and call.
- Lay a broom handle across the gate’s closing path. A properly set safety edge or obstruction sensor reverses on contact – not on force.
- Confirm any gate operator with a mower, an adult, or vehicle striking it always reverses on the first attempt without needing a second push.
- Check that the photo-eye lenses are clean, unobstructed, and aimed at each other, because dust is a Mesquite reality and a dirty eye reads as an obstruction.
If any of those checks fail, keep the gate in manual mode (most operators have a release) and call. We won’t walk a homeowner through rewiring an entrapment circuit over the phone – the risk of getting it wrong is too high, and the code requires someone trained to sign off on the response. This is also the point in the process where a failing gate is a genuine household hazard, not a weekend project.
Why Brand Matters: LiftMaster, Elite, FAAC, and Mighty Mule
We’ve covered the warranty clauses above, but the brand question affects the DIY decision in a practical sense, too. LiftMaster operators tend to have deep dealer support and parts availability, but the control boards are proprietary and not something to troubleshoot blind. Elite’s reputation in Mesquite comes from builds that hold up to heat; their install parameters are specific and worth following. FAAC’s operators are often on heavier estate gates where the load and the entrapment configuration matter more than on a light residential swing gate. Mighty Mule is genuinely the most approachable for a first-time installer.
The point is this: the operator is one piece of the gate system. The post, the hinges, the weld quality, and the safety edge all have to work together. A brand new LiftMaster on a post that’s leaning two inches is a bad install no matter how carefully you followed the manual. Our gate installation service in Mesquite treats the whole assembly as one job for that reason – installing an operator on a hinge system we haven’t inspected is asking for the kind of callback that doesn’t belong to a properly done install.
Common Mistakes to Avoid
- Pulling a panel tap yourself to save the electrician’s visit. In Clark County this creates an unpermitted electrical installation that follows the house to a future sale. It also voids the operator warranty on brands like LiftMaster, Elite, and FAAC.
- Mounting the bracket without checking the post’s true. Desert ground moves with the seasons, and a post that reads plumb on install day can lean by the end of summer. Level the mount against a post you’ve verified, not one you assume is straight.
- Skipping the entrapment protection test. Setting the operator and walking away without deliberately tripping the photo eye and safety edge is the single biggest safety omission we see on homeowner installs.
- Ignoring the reversal timing window in the manual. A gate that reverses slowly is technically reversing, but not within the manufacturer’s spec. Match the timing the manual calls for, not what feels “about right.”
- Purchasing an operator before measuring the gate. Load, gate width, and hinge condition determine whether a given Mighty Mule or FAAC will actually be rated for your gate. Undersized operators burn out fast and the warranty won’t cover the mismatch.
- Leaving a half-finished install in place with the gate in “run” mode. If you stop mid-job, put the gate in manual release. A gate with no calibrated limits and no verified safety edge is a moving blind spot.
- Skipping the ground bond because the operator runs fine without it. It runs fine until the first monsoon thunderstorm rolls through Mesquite and takes the control board with it.
See the difference
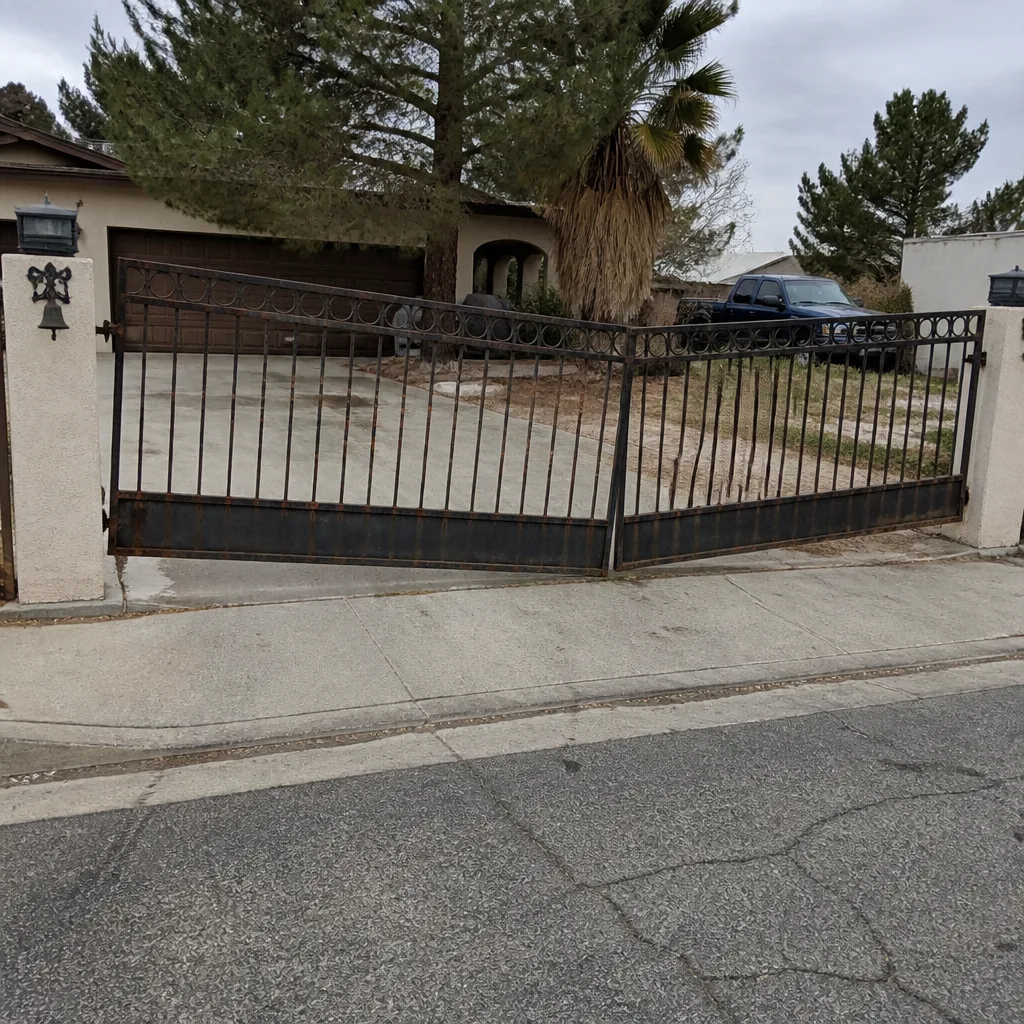 Before
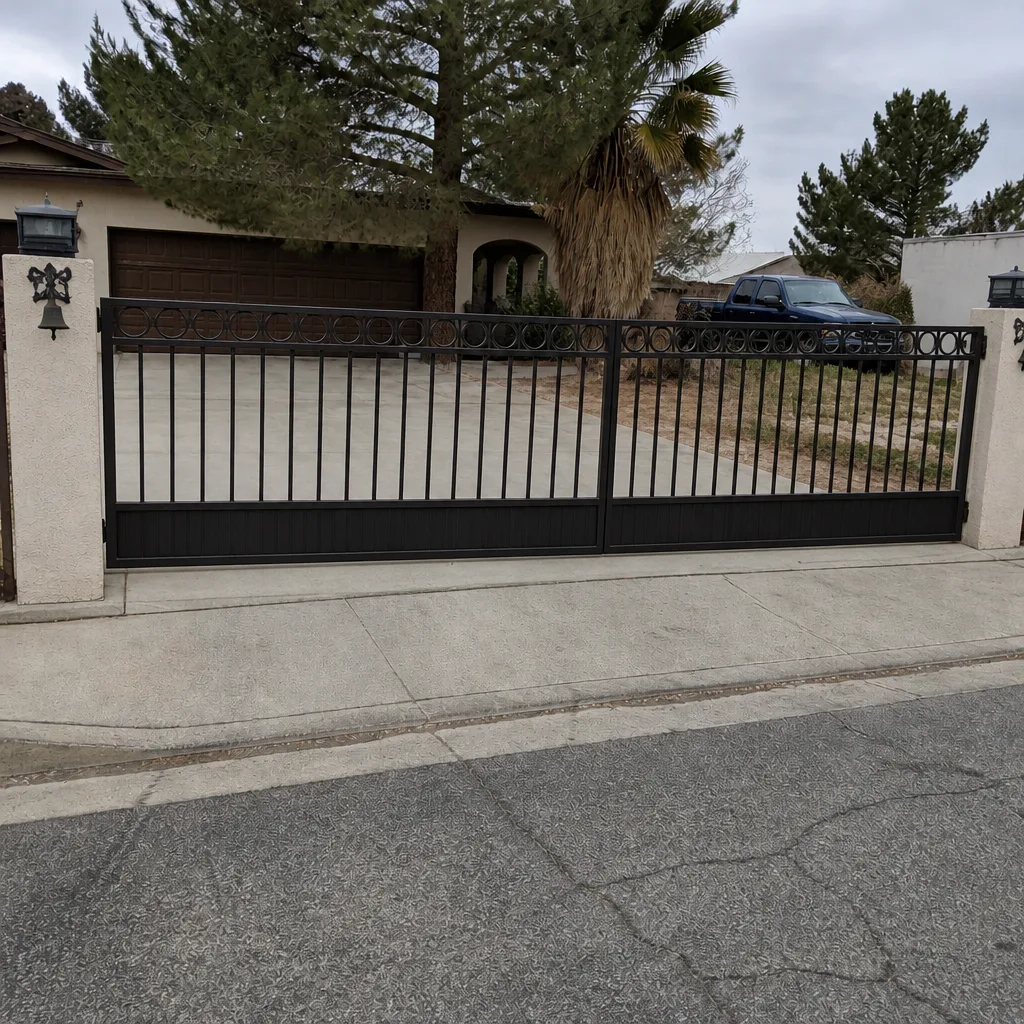 After
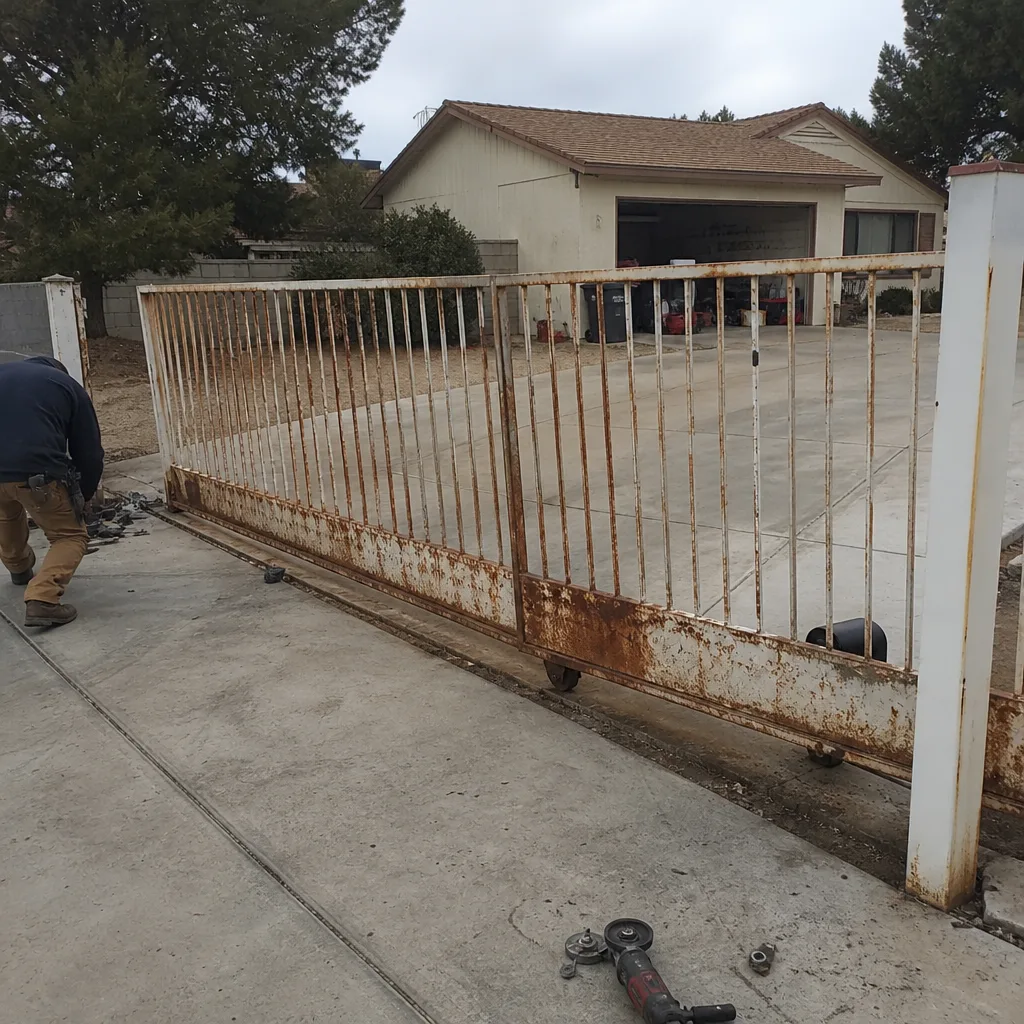 Before
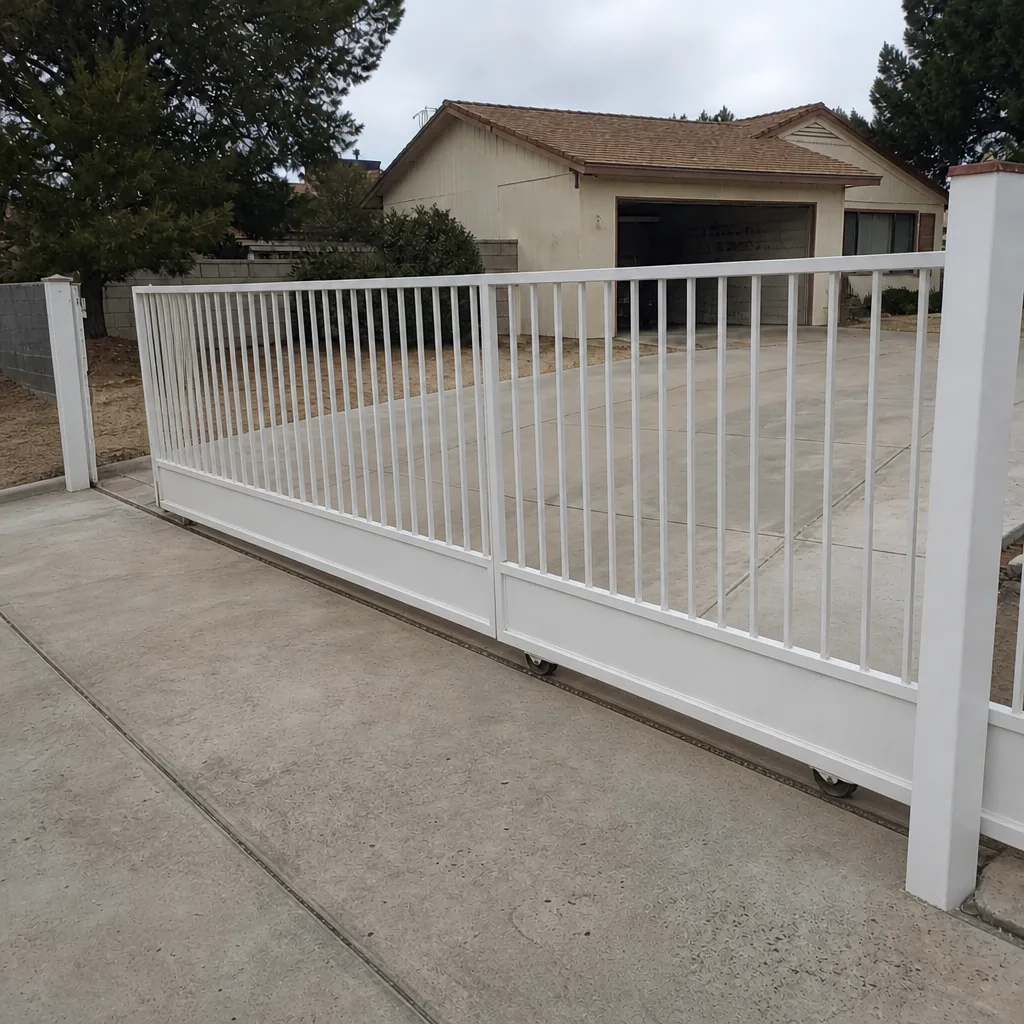 After
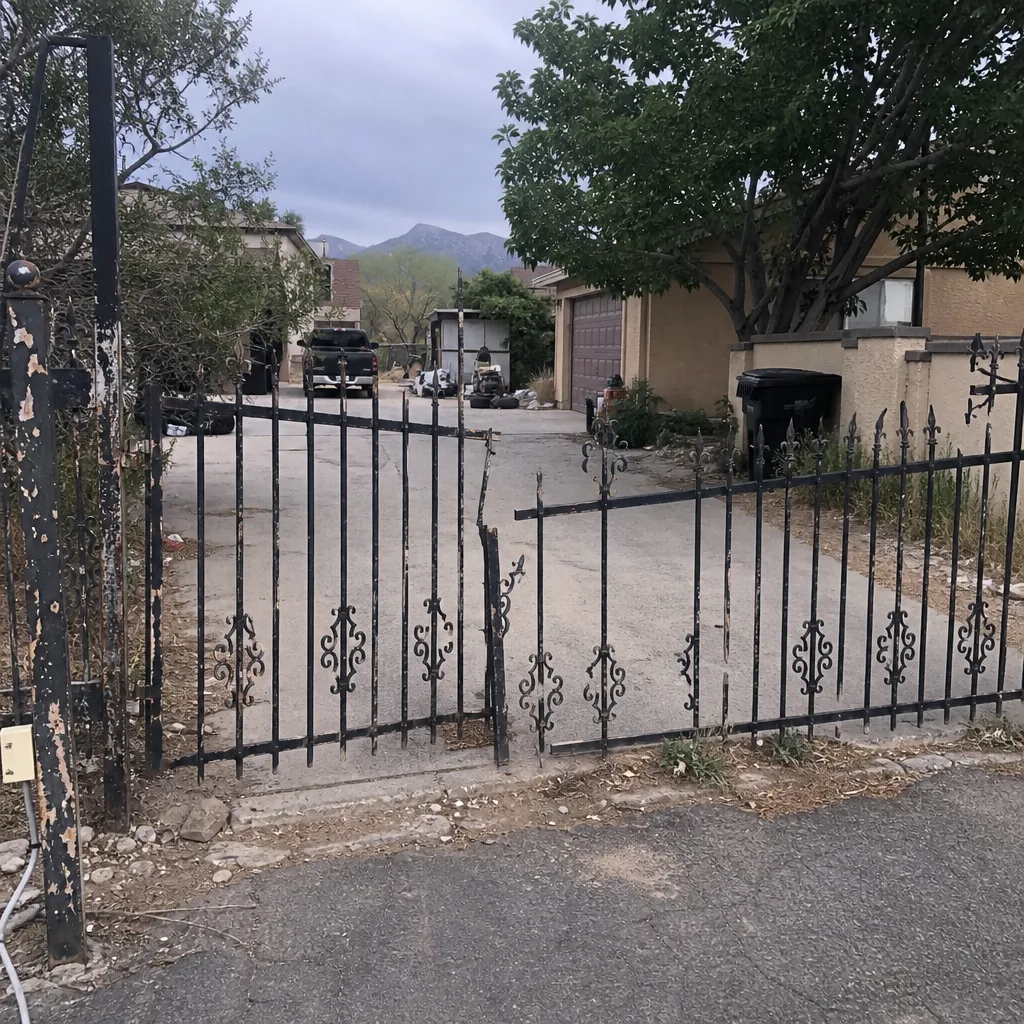 Before
 After
When to Call a Professional
Call a professional for any line-voltage work, any structural repair to the gate post or hinges, any safety edge or entrapment wiring, and any install where the operator and the gate are mismatched. Also call if you’ve started a DIY job and reached the calibration or safety phase and something doesn’t feel right – the honest call at that point is cheaper than the rescue job later. For a free second opinion on a written estimate from another company, or a free estimate on the work in the first place, Ironworks Gate Co. Mesquite is a call away. We answer live, day or night, at (844) 797-2573 and offer a written 90-Day Done Right Promise on every completed job, settled with an upfront price before any work starts.
Frequently Asked Questions
You can legally mount the operator bracket and run low-voltage sensor wiring on your own property. Any connection to house power – 120V to the transformer or a tap into your panel – must be done by a licensed electrician with a permit under Clark County electrical code. Doing the panel work yourself, even on a short run, is where “legal” crosses into unpermitted electrical work.
In most cases, yes, at least partially. LiftMaster and Elite both word their warranties around qualified or professional installation, and a self-install typically reduces or ends coverage on the control board and motor electronics. The parts window can shrink to near nothing. Call (844) 797-2573 for a free estimate – keeping the warranty intact is often worth more than the installer’s fee.
It becomes a disclosure item on the inspection report, and the buyer’s agent will ask for permits and inspection records. In practice the seller pays for a retroactive permit, an inspection, and any code corrections the electrician flags. That can be a rewire or a full redo. Sometimes closing is delayed. The cost is consistently higher than permitting up front.
Low-voltage sensor wiring between the control board and the photo eyes or safety edges is generally safe for a capable homeowner, but verifying that the entrapment protection actually trips and reverses the gate is where professional testing matters. If you can’t confirm the reversal timing window matches the manual, call a trained technician. Call (844) 797-2573 and we’ll check it before it becomes a hazard.
Finishing a half-finished install typically runs more than starting from scratch because the technician has to verify every prior step before completing the rest – the bracket, the wiring, the calibration, and the safety edge. It varies with what’s been done, so we quote it free after a look. Call (844) 797-2573 for an exact number before any work starts.
We’re trained and equipped on nine leading brands, including LiftMaster, FAAC, BFT, Linear, Viking, Ghost Controls, DoorKing, Elite, and Mighty Mule. That means the right fix on the first visit regardless of what’s on your driveway. Call (844) 797-2573 with your operator’s brand and model – estimates are free, and a live person answers any hour.
The Bottom Line
The line between a safe DIY job and a liability is precise, and it’s worth drawing before you buy a single bracket. Mounting hardware, bracket alignment, and low-voltage sensor runs are within reach for a capable homeowner. Line-voltage work, panel taps, structural post repair, entrapment verification, and calibration belong to someone licensed and trained – not because it’s complicated for its own sake, but because in Clark County the electrical portion is a permit issue and the safety portion is a code issue. A gate that closes smoothly and reverses correctly is worth doing once, correctly, with a written guarantee behind it. Ironworks Gate Co. Mesquite stands behind every job with a 90-Day Done Right Promise, upfront pricing settled before the work starts, and a live person on the phone at (844) 797-2573, seven days a week. Call for a free estimate and we’ll help you sort out the DIY you can handle from the part we should.
Written by the team at Ironworks Gate Co. Mesquite.