
Last updated November 17, 2026
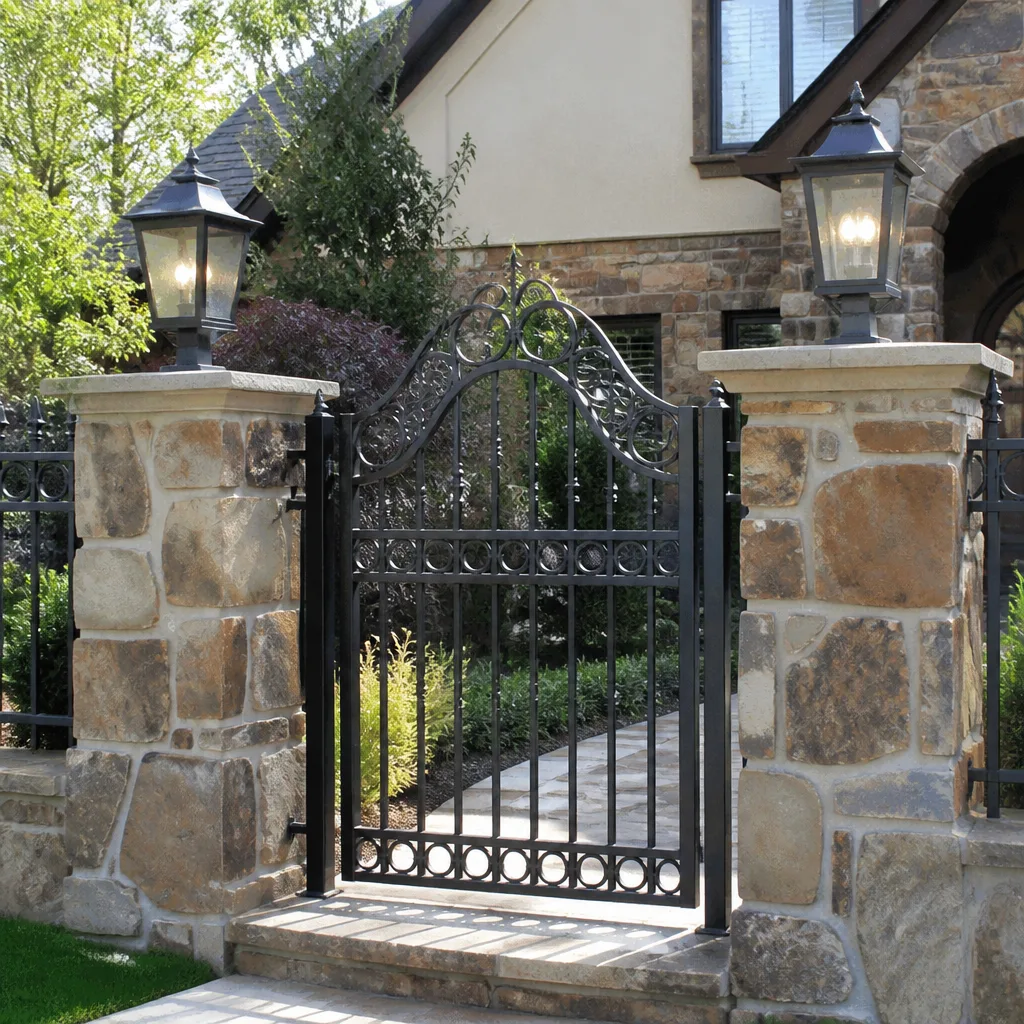 Wrought iron
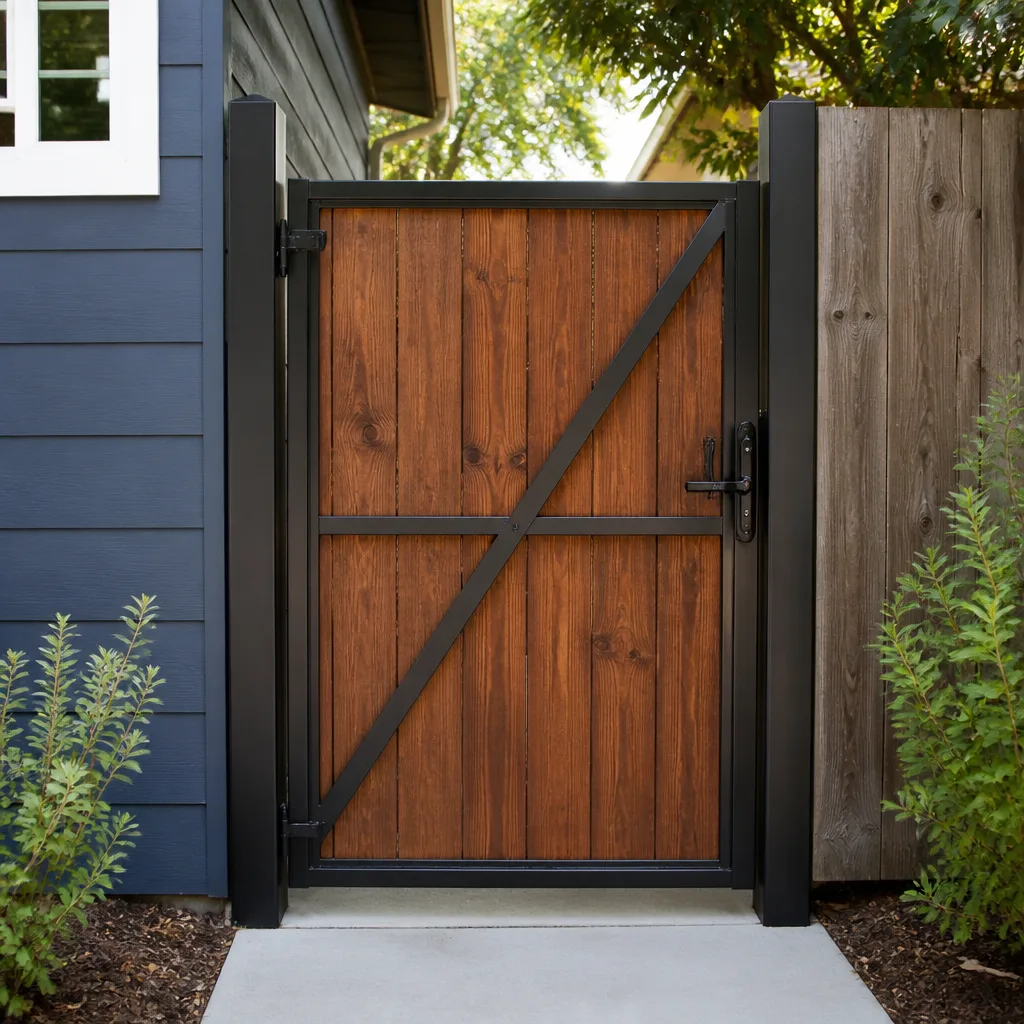 Wood & steel frame
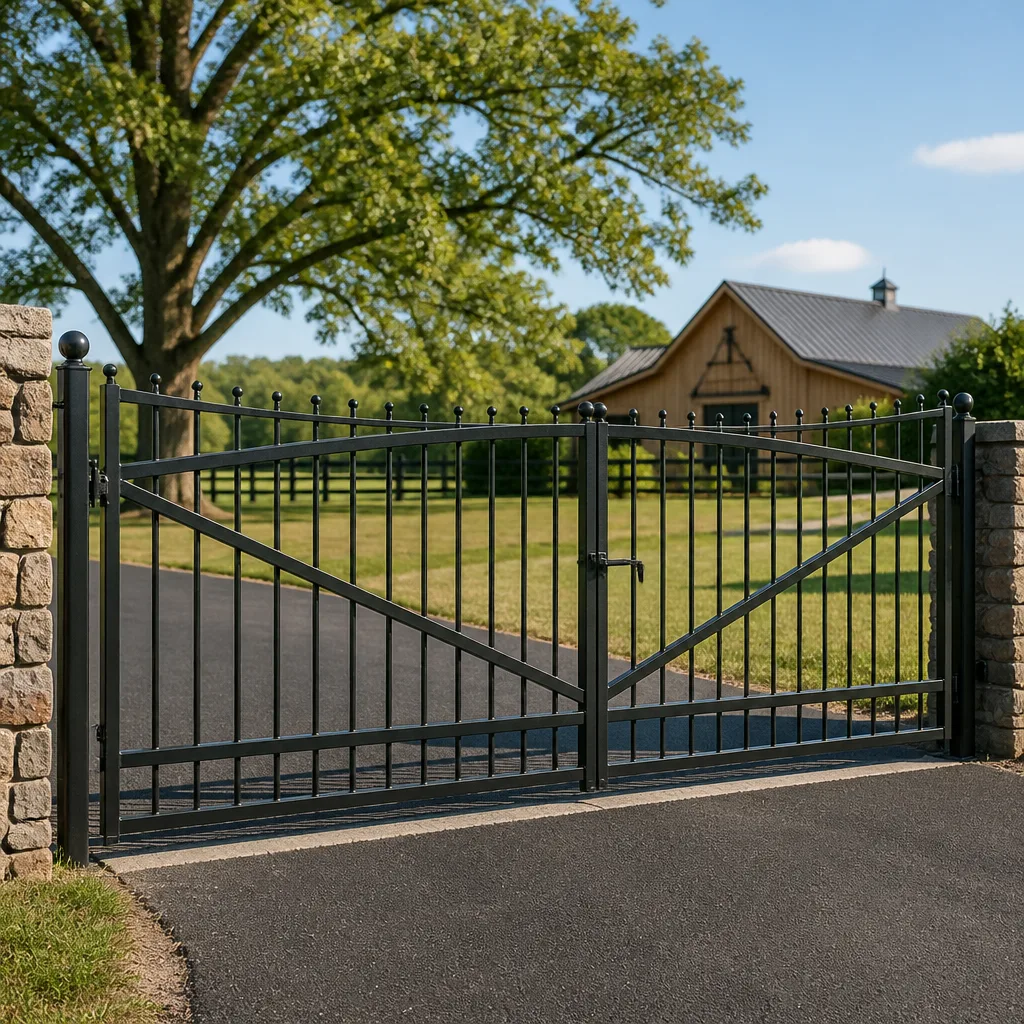 Farm & ranch
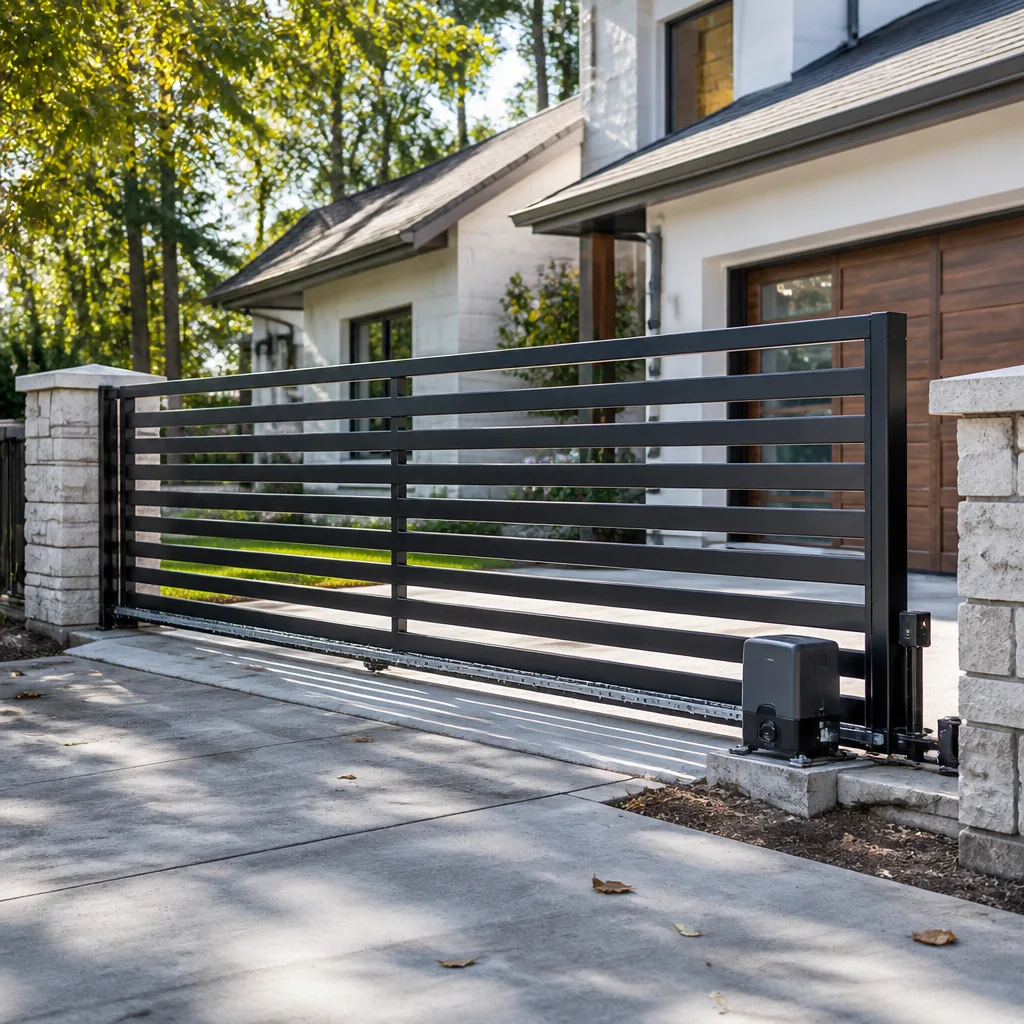 Sliding driveway gates
 LiftMaster operators
Free on-site gate assessment - hinges, posts, and your LiftMaster or Nice gate operator checked before anything is quoted
The assessment is free and the quote is the invoice.
Get your free estimateGate Parts & Welding Troubleshooting: Common Problems and How to Fix Them
Here’s the counterintuitive truth about most sagging gates: the hinge you’re about to replace is rarely the culprit. In our experience across Mesquite, roughly four out of five gates that drag at the latch side are suffering from a failed corner weld on the opposite end of the frame – the gate is racking, not wearing out at the pivot. Replace that hinge and the sag returns within a season, because the real failure is still there. This guide walks through how to read a gate’s welds, trace a symptom to its actual source, and know which fixes last and which just postpone the problem.
Quick Answer
Most gate problems that look mechanical – sagging, dragging, sticking, a latch that won’t line up – trace back to a failed weld somewhere on the frame, usually a cracked corner joint or a weld that corroded or fatigued from years of heat cycling and gate movement. The fix isn’t to replace hinges or adjust the opener; it’s to inspect the welds first, identify whether the failure is a crack, pit, undercut, or porosity, and repair or replace the affected joint before touching anything else. A trained welder can usually diagnose the source in fifteen minutes of inspection and give you a straight answer on patch versus replace.
Styles & brands we work with
- Wrought iron
- Wood & steel frame
- Farm & ranch
- Sliding driveway gates
- LiftMaster operators
Table of Contents
- Why Gate Problems Are Usually Weld Problems in Disguise
- The Four Weld Failure Modes and How to Spot Them
- The Sagging Gate Diagnostic Sequence: Frame, Welds, Hinges, Post
- Thermal Fatigue vs. Corrosion vs. Impact Damage
- Which Parts Can Be Patched and Which Need Full Replacement
- When It’s Actually a Hardware Problem, Not a Weld
- What to Gather Before You Call a Welder
- Keeping a Repaired Gate Solid in Desert Heat
Why Gate Problems Are Usually Weld Problems in Disguise
Gates are simple structures. A frame, some infill, hinges, a post, and an opener doing the pushing. When the gate stops swinging true, the frame has almost always moved out of square – and the reason it moved is that a weld that was holding one corner rigid has stopped doing its job. The hinge worn at the pivot is just where the misalignment shows up. The weld that failed is usually at the opposite corner, which is why so many homeowners (and some handymen) replace the visible part and never find the real cause.
We’ve seen this pattern repeat across Mesquite properties, from Desert Ridge to Sun City, where gates hang in the same dry, blazing, wind-scoured conditions year after year. The metal is doing real work every day: expanding in summer heat, contracting overnight, absorbing wind load, and taking the torque of an opener pushing 300 pounds of steel through an arc. A weld that was marginal when it was made will eventually show. That’s normal. What isn’t normal is treating the symptom – adjusting the hinge plate, cranking the opener force setting up, or shimming the post – without finding the failed joint and repairing it.
If you’re already certain your gate needs service and want to skip ahead to scheduling, gate repair in Mesquite is where we’ve documented how we approach these visits.
The Four Weld Failure Modes and How to Spot Them
Not every weld fails the same way. When we inspect a gate, we’re looking for four specific failure modes. Homeowners can spot most of them with the gate closed, in good daylight, and a little patience.
1. Cracking
A crack is a visible split running along the edge of the weld bead or through the heat-affected zone just next to it. It looks like a hairline shadow that won’t wipe away. Run a fingernail along the joint – if it catches in a thin line, that’s a crack. Cracks are the most urgent failure because they grow with every gate cycle.
2. Pitting
Pitting shows up as small craters or chewing-gum-like pits in the weld surface, often where rust has eaten through. Hold a light at a low angle to the joint; pits will catch light in a way that a smooth bead won’t. Pitting is common on older gates in Mesquite where overnight condensation meets desert dust and the weld was never painted properly.
3. Undercut
Undercut is a groove melted into the parent metal right alongside the weld bead, leaving the joint thinner than it should be. It’s a welder’s error from the original build – too much heat and not enough filler. You’ll see a shallow channel running beside the bead on one or both sides. The gate can look fine for years before undercut becomes a crack.
4. Porosity
Porosity is a cluster of tiny holes in the weld surface, like the bead was carbonated. It happens when moisture, oil, or paint was present on the metal during welding. A porous weld traps water, rusts from the inside, and eventually fails the same as a crack.
If you can identify which of these four you’re looking at, you already know more than most generalist handymen arriving on the property. That’s the difference between a diagnosis and a guess.
The Sagging Gate Diagnostic Sequence: Frame, Welds, Hinges, Post
When a gate sags, work through these four steps in order. This is the sequence our technicians follow, and it’s why we don’t start at the hinge.
- Check the frame for square. With the gate closed, measure the diagonal from top-left to bottom-right, then top-right to bottom-left. If they differ by more than a quarter inch on a typical driveway gate, the frame has racked. That tells you a structural weld has failed somewhere, and it tells you what the “correct” square should be when the repair is done.
- Inspect every weld on the frame. Walk the perimeter with a bright light. Look at the four corners first, then the mid-span joints where horizontal rails meet vertical stiles. Look for cracks, pits, undercut, or porosity. A failing corner on the hinge-opposite side is the classic cause of a latch-side sag.
- Now check hinges. Only after the frame is confirmed square should you evaluate hinges. Lift the gate slightly by the latch end while watching the hinges – slop at the top pivot, wear at the bottom ball bearing, or a hinge plate pulling loose from the post are all valid findings, but only meaningful once the frame is ruled out.
- Finally, check the post. A hinge post that has rotated, leaned, or loosened in the ground will cause its own pattern of sag. Concrete footings in desert soil sometimes shift after a monsoon season; the post is the last check because it’s the most expensive to fix and least often the cause.
For motor-driven gates, we’d add a fifth step: run the opener through a full open-and-close cycle and watch for where the gate binds. A gate that fights the opener is telling you about alignment, and misalignment points back to the frame. If your opener is straining, gate motor and opener service in Mesquite covers what to do about it – but fix the gate first, then retune the motor, not the other way round.
Thermal Fatigue vs. Corrosion vs. Impact Damage
The way a weld fails tells you a lot about why it failed – and the fix is different for each. In Mesquite, we see three patterns over and over.
Thermal fatigue
Daytime highs that push past 110°F and overnight winter lows that drop into the 30s put a gate through dozens of expansion-and-contraction cycles each year. Over 15 or 20 years, that cycling weakens weld heat-affected zones, especially on gates with fixed top rails where the frame can’t flex at all. Thermal fatigue shows as clean, hairline cracks running perpendicular to the bead. If we see this pattern on a Mesquite gate, we treat it as a sign the whole frame was welded too rigidly and may need reinforcement gussets, not just a bead touch-up.
Corrosion failure
Corrosion creeps in around weld beads because the heat-affected zone is where paint adhesion is weakest. Steel gates in Mesquite near irrigation lines or with poor drainage at the bottom hinge routinely show rust blooming out of the weld within three or four seasons. Pitted, porous welds are usually corrosion-related. The fix is to grind out the corroded weld, treat the steel, re-weld with proper prep, and coat properly. Painting over a rusty weld is a two-year postponement, not a repair.
Impact damage
Backed into by a car, whacked by a garbage truck, or shoved by a gust slamming the gate into a stop – impact damage shows as bent tube, torn welds, and obvious deformation. This is the easiest type to spot and usually requires the most metalwork. If a corner has torqued out of square, replacing the tube section rather than trying to bend it back is almost always the honest answer.
Which Parts Can Be Patched and Which Need Full Replacement
Here’s the plainspoken guidance we give homeowners: a weld can be repaired if the parent metal on both sides of the joint is still sound. It needs replacement if the tube is crushed, cracked wider than the parent metal, or corroded thin. If the steel “sounds dull” when tapped, that’s a sign of thinning and a sign of patch work that won’t last.
- Can be patched: a single cracked corner weld on an otherwise sound frame; a small area of porosity ground out and re-welded; a hinge plate re-secured to solid steel; a bent infill bar straightened and re-welded.
- Should be replaced: a tube torn by impact; a corner where two or more welds have failed; a bottom rail corroded through; a hinge post confirmed to be rotating or rocking in the footing; a hollow-section frame older than 20 years with multiple pit clusters.
- Replace the whole gate: when three or more frame joints fail within the same inspection, or when the gate has been repaired in the same location before. That’s a structural problem, and each new patch tells you another one is coming.
Patching a bad frame is where money disappears quietly. A weld patch is inexpensive – grinding, prepping, welding, painting, and testing typically runs a homeowner far less than a full rebuild, and we make a habit of telling people when that’s the right call. But patch three welds in three seasons and the total cost of patch work will exceed what a straight rebuild would have been, plus you’ve lost three waiting periods. Honest guidance on that tradeoff is what you should expect from anyone you invite onto your property. When it comes time to plan a rebuild, gate installation in Mesquite walks through what a properly built frame looks like.
When It’s Actually a Hardware Problem, Not a Weld
Not every gate problem is structural. Knowing the difference saves you a service call or prevents a welder from showing up needing to fix something a different trade should handle.
- Hardware problems: a hinge that squeaks but the frame is square; a latch that won’t catch because it’s misaligned by a sixteenth of an inch; a wheel on a rolling gate that’s flattening; an opener chain or arm that’s stretched. These are hardware and adjustment calls, not welding.
- Structural problems: a latch that drops 3/4 inch over a season; a gate that binds mid-travel even after hinge adjustment; a post that leans and can be moved by hand; a corner that shows a visible crack; any gate that rattles from a specific joint when pushed.
- Opener problems that look structural: a motor that fights the gate at only one end of travel, a limit switch that stops the gate short, or a control board that no longer remembers the stroke length. We service FAAC, BFT, Linear, and Viking openers alongside the gate work, so we can tell the difference before lifting a torch. That matters because the wrong diagnosis either replaces a motor needlessly or misses a structural failure that will shell an opener over the following year.
What to Gather Before You Call a Welder
An efficient visit needs specific information, and a homeowner who walks the gate with a phone in hand can gather all of it in ten minutes. Line-item accuracy on your quote depends on it.
- Photos of every weld joint. Four corners, the midpoint joints, both hinge plates, the post anchor, and the latch. Take each photo in bright daylight, close enough that the surface texture is clear. A wide shot is nice, but the close-ups do the diagnostic work.
- The gate’s dimensions. Height and width of the leaf, and the width of the opening. Rough numbers are fine.
- The gate’s material. Steel, aluminum, wrought iron, or a mix. Aluminum does not weld like steel; if you’re not sure, a magnet will tell you.
- The gate’s age and any known repairs. “It’s from 2004 and had a hinge replaced in 2019” tells us what to look at first.
- The opener’s make and model. A photo of the label on the motor housing. This matters because if the opener will need temporary disconnecting to open the gate flat for repair, the procedure differs by brand.
- A clear description of the symptom and when it started. “Sags at the latch side, worse when it’s hot, started this spring after the opener was serviced.” That single sentence saves half the diagnostic time.
With that in hand, any competent welder can quote accurately from the driveway and know what materials to bring. It’s the difference between a one-visit repair and a two-visit appointment. The company that shows up expecting to gather this info from scratch is a company that hasn’t done the job enough times to know better.
Keeping a Repaired Gate Solid in Desert Heat
A properly repaired gate should outlast the original welds that failed if the repair was done correctly – which means grinding back to clean metal, using the right filler, allowing for thermal movement, and coating the heat-affected zone properly. What we tell Mesquite homeowners after every weld repair is this: the weld is now the strongest part of that joint. The paint is the second line of defense, and paint maintenance is what keeps the repair good for the next fifteen years.
Practical habits that matter:
- Touch up the paint on any weld or heat-affected zone within a month of the repair, before the first hard sun cycle. A bare weld in Mesquite rusts within a couple of seasons.
- Lubricate hinges and the opener arm attachment points twice a year – once before summer, once before winter.
- Walk the gate quarterly with a flashlight and check the four corners. A hairline crack caught early is a small weld job; caught two years later, it’s a frame tube.
- After any wind event with gusts over 50 mph, do a quick walk around. Wind load on a solid gate is punishing, and cracks that start in a wind storm don’t announce themselves.
An Ironworks Gate Co. Mesquite home visit for a seasonal tune-up includes a weld inspection alongside the opener service – the $89 Seasonal Tune-Up is designed exactly to catch a failing weld before it becomes a sagging frame. Every completed repair is protected by our 90-Day Done Right Promise, written and honored without argument.
Common Mistakes to Avoid
- Replacing hinges before checking welds. The most expensive mistake in residential gate repair. A hinge replacement on a racked frame solves nothing, and the sag returns in weeks.
- Adjusting the opener force setting to compensate for a dragging gate. This doesn’t fix the drag, it just masks it until the opener fails from constant strain. Fix the gate, then the opener.
- Painting over a cracked weld. A crack in Mesquite heat and dust will propagate whether or not you can see it. Grind to sound metal, weld, then paint.
- Welding galvanized steel without proper prep. Galvanized coating gives off toxic fumes when welded. If a handyman shows up and starts welding your galvanized gate without stripping and prepping the joint, that’s a stop-the-job situation for their safety and yours.
- Shimming a leaning post instead of resetting it. Shims buy a month. A post that’s rotated in its footing needs the footing addressed, or the whole gate sits on a failing foundation.
- Approving a patch when the whole frame is compromised. If multiple welds failed on the same inspection, patching one is spending money on a repair that won’t hold. Ask for the honest answer.
- Ignoring the opener after a structural repair. Once the frame is back in square, the opener’s travel limits and force settings almost always need retuning. Skipping this step stresses the fresh weld.
- Choosing the cheapest quote without asking what’s excluded. A quote that doesn’t mention paint touch-up, opener retuning, or haul-away is missing line items that show up on the final bill. Upfront pricing means the whole job, in writing.
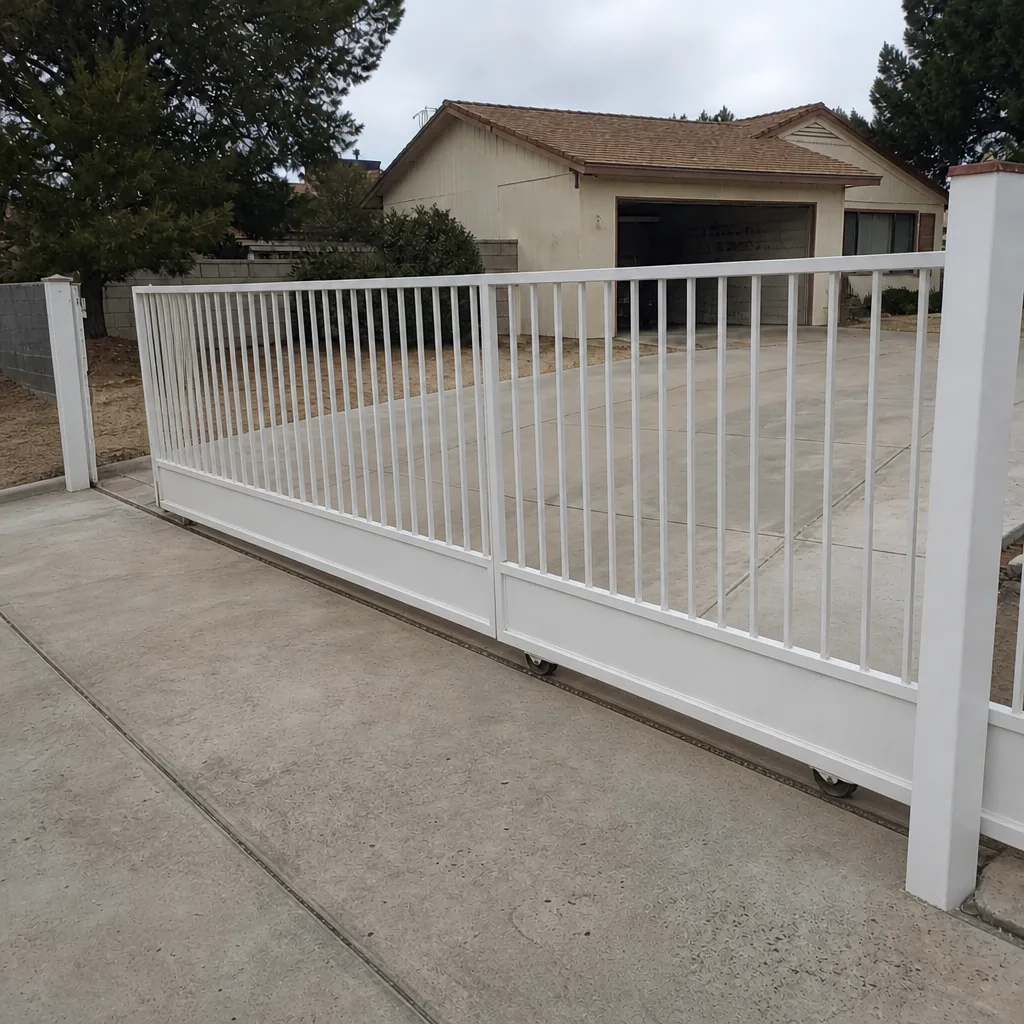
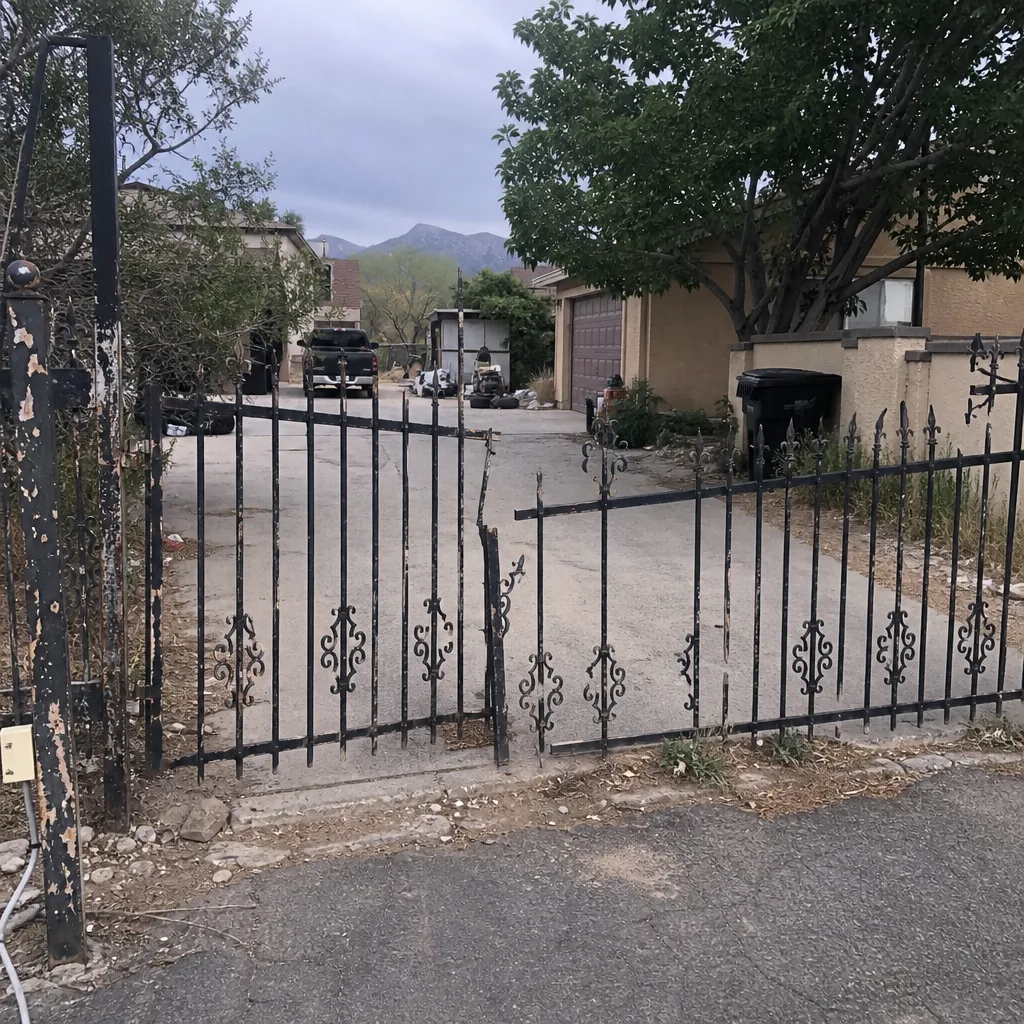
See the difference
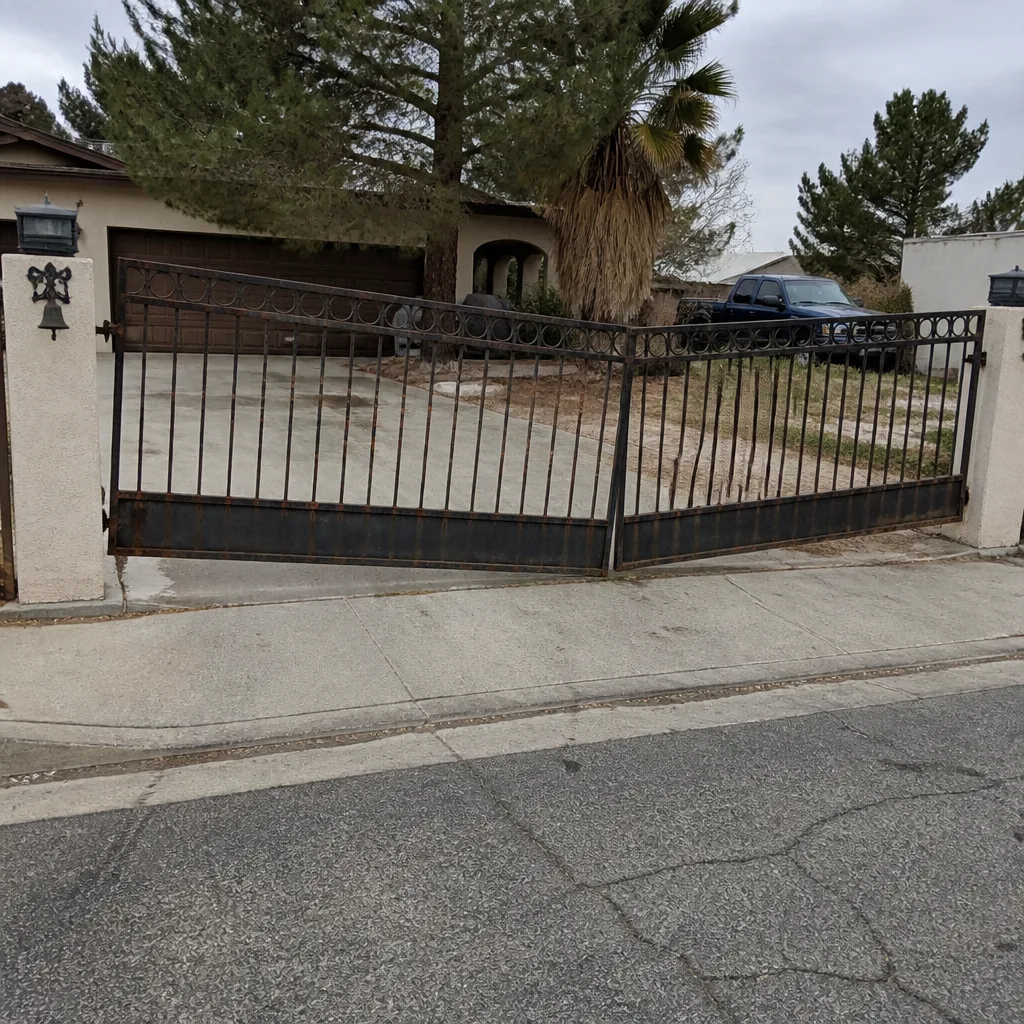 Before
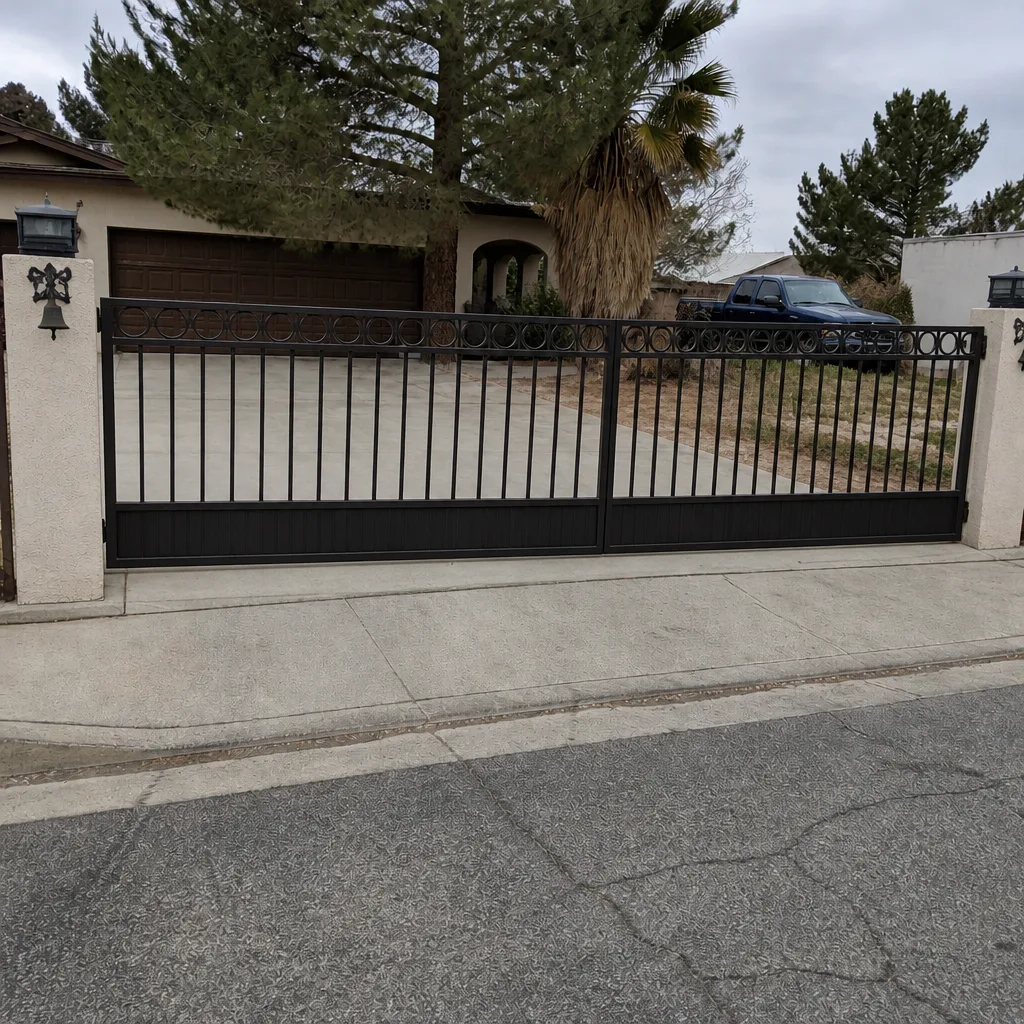 After
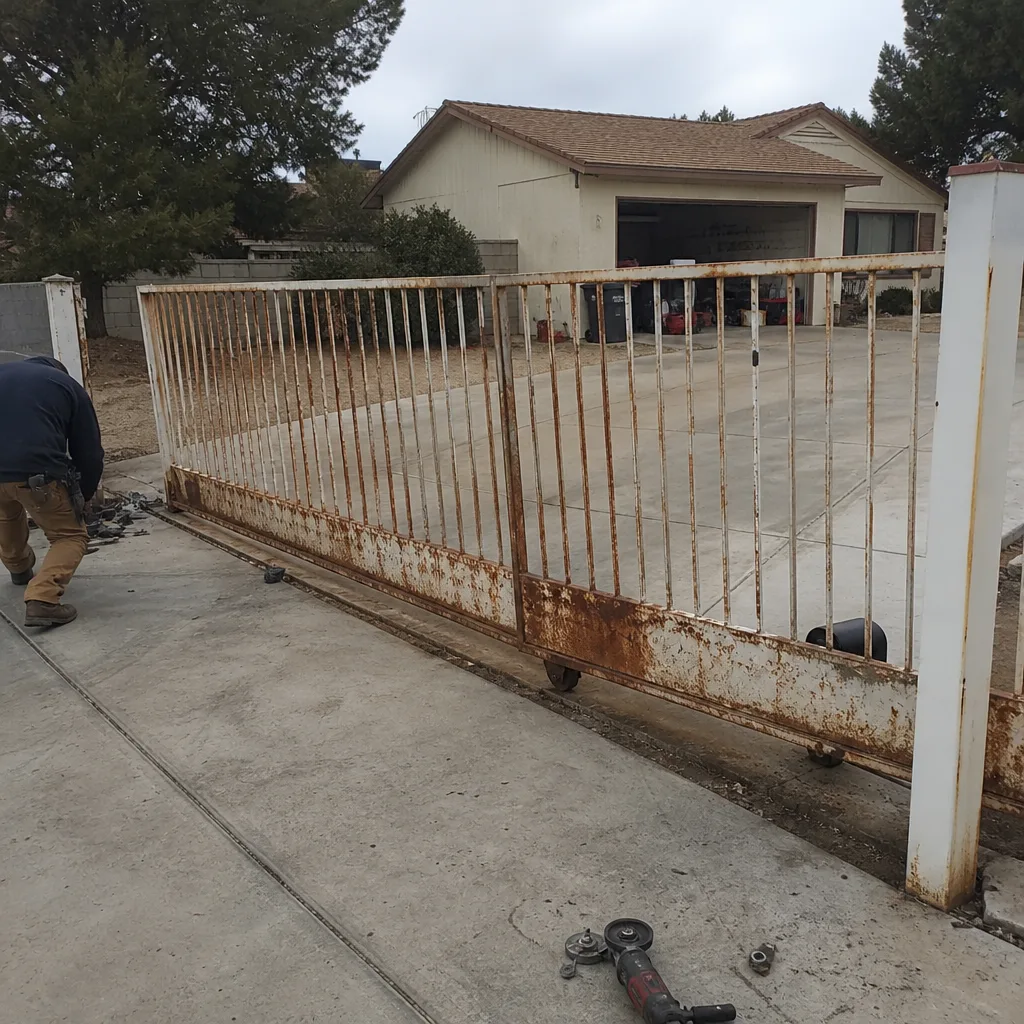 Before
 After
 Before
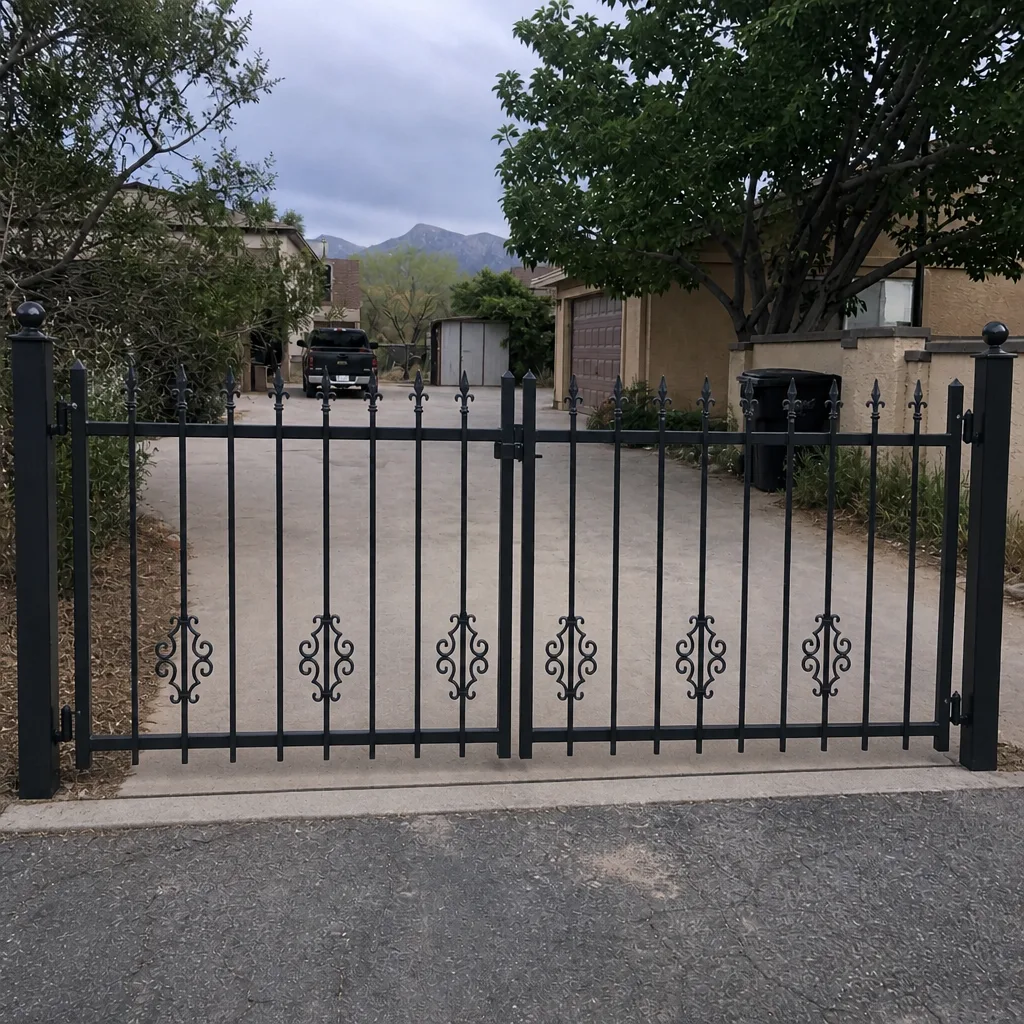 After
When to Call a Professional
Some gate work is safe and sensible for a homeowner: lubrication, paint touch-up, clearing debris from a track, resetting a photo-eye. Anything involving welding, cutting, structural re-squaring, or working near the opener’s electrical supply should go to a trained professional – the welds hold the entire load of the gate, and a bad weld on a 400-pound leaf is a serious injury waiting to happen. Call a pro if you see a visible crack, if the gate has racked more than a quarter inch, if a post is leaning or rocking, or if the gate has been repaired before at the same joint. Ironworks Gate Co. Mesquite offers free estimates in Mesquite – call (844) 797-2573 and a live person answers, day or night. Most structural gate repairs are completed in a single visit with pricing settled upfront before any work starts.
Frequently Asked Questions
Because the hinges usually aren’t the problem. A latch-side sag almost always means the frame has racked, and racking points to a failed weld – most often a cracked corner joint on the hinge-opposite side of the gate. The hinge may carry the visible misalignment, but the real failure is structural. A welder can confirm in a fifteen-minute inspection, and the repair is typically a weld joint, not a hinge replacement.
Most residential gate weld repairs in Mesquite run somewhere between a small hardware repair bill and a several-hundred-dollar job depending on how much prep work is needed, whether the gate must be removed from its hinges, and whether paint touch-up is included. A single corner weld might be a short visit; a multi-joint repair with corrosion cleanup takes longer. We quote upfront, in writing, and the price does not change after work begins. Call (844) 797-2573 for an exact quote – estimates are free.
Often yes. A single cracked corner or mid-span weld on a driveway gate is usually repaired in place if there’s enough access, the opener can be temporarily disconnected, and the joint can be cleaned and welded safely. Larger repairs, or repairs where the gate needs to be flat for a proper weld, require removal. The technician will tell you which you’re looking at during the estimate, before any work begins.
Corrosion shows up as pitting, porosity, and rust blooming out of the weld bead – a rough, crumbly look around the joint. Thermal fatigue shows as clean hairline cracks running perpendicular to the bead on a gate that otherwise looks well-maintained. In Mesquite, both are common, and gates older than fifteen years often show both at once. The repair approach is the same in principle – grind to sound metal and re-weld – but corrosion repairs need extra treatment and coating before the new weld goes in.
Yes. Once the frame is square again, the opener’s travel limits, force settings, and safety reverse usually need adjustment. We service nine major brands, including FAAC, BFT, Linear, and Viking, so the retuning happens on the same visit as the weld repair. Skipping this step is one of the most common reasons a fresh repair fails within a year.
If a single joint has failed on an otherwise sound frame, repair is the right call and it costs far less. If three or more joints are failing, if the bottom rail is corroded through, or if the same joint has been repaired before, replacement is the more honest long-term answer. Patching a compromised frame costs more in the long run because each patch postpones a failure without solving it. Ask for the straight answer; a company that wants the work done right will give it to you.
The Bottom Line
If your gate sags, drags, or fights the opener, start at the frame, then the welds, then the hinges, then the post. That sequence is the difference between a repair that holds and a repair that comes back next season. A failed weld in Mesquite’s heat is a normal part of a gate’s life, not a reason to fear the property – but patching the wrong part is where real money gets spent. The repairs that last are the ones that find the real failure, fix it properly, coat it, and retune the opener afterward. If you’d rather have a trained eye diagnose it than guess, we’re one call away.
Call (844) 797-2573 for a free estimate on your Mesquite gate. A live person answers, every hour of every day. Pricing is settled upfront before any work starts, most repairs are completed in a single visit, and every job is backed by our written 90-Day Done Right Promise. Current standing offers include $50 off any repair over $250, a free second opinion on any written estimate, our $89 Seasonal Tune-Up, and a permanent 5% discount for seniors and veterans.
Written by the team at Ironworks Gate Co. Mesquite.