
Last updated November 17, 2026
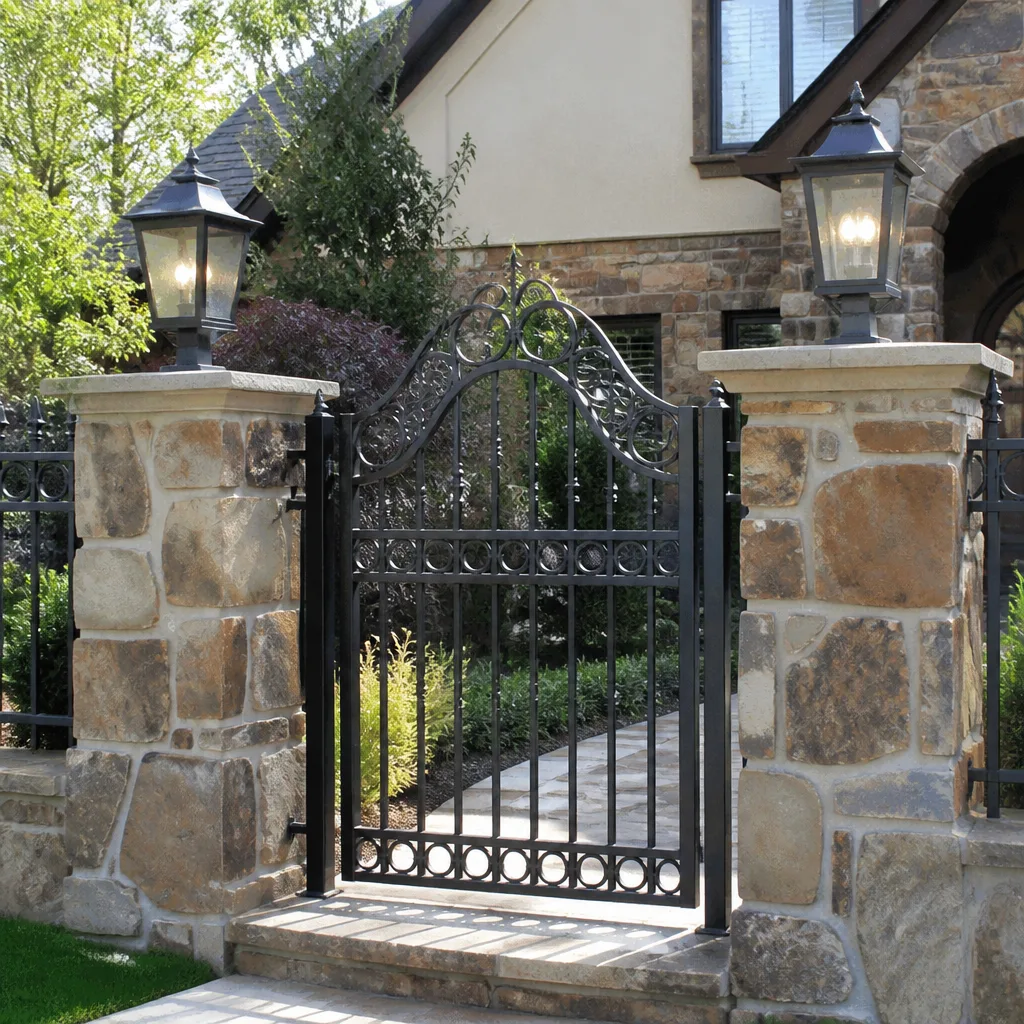 Wrought iron
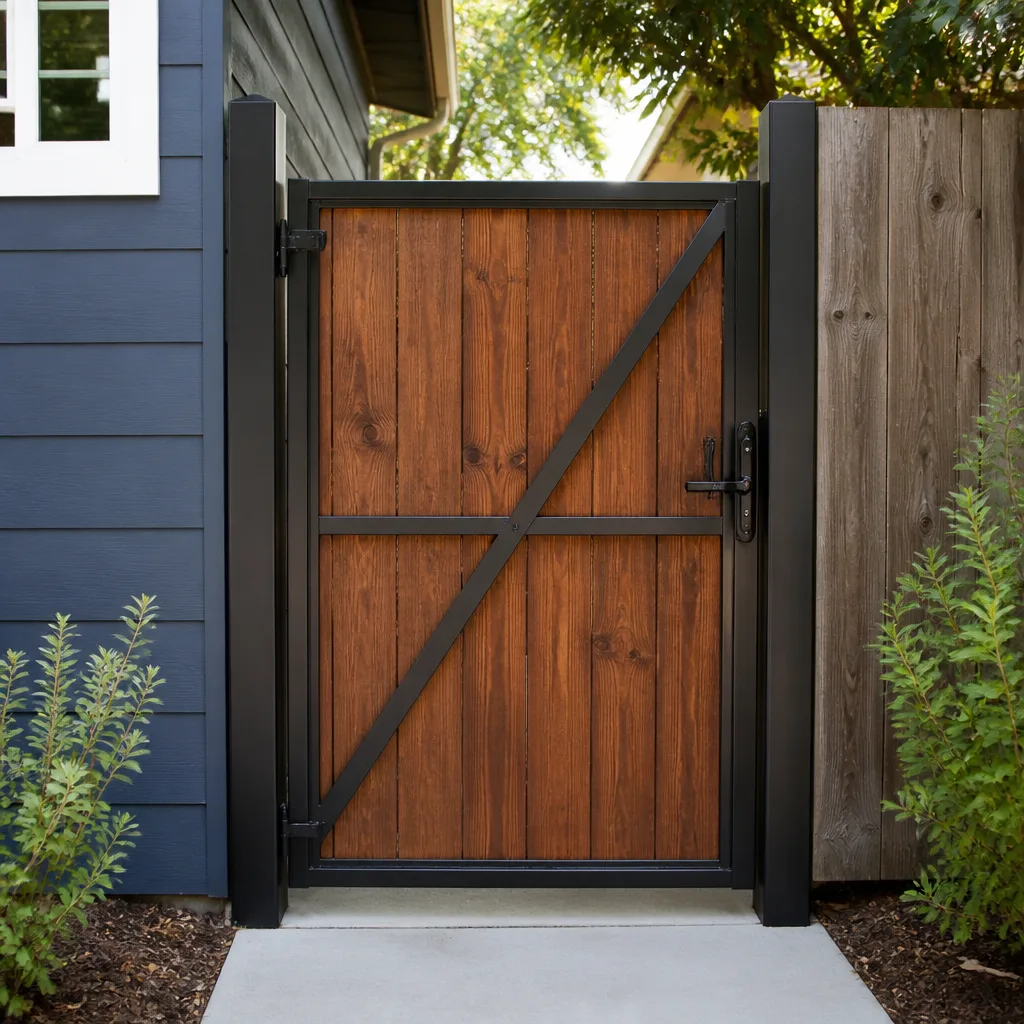 Wood & steel frame
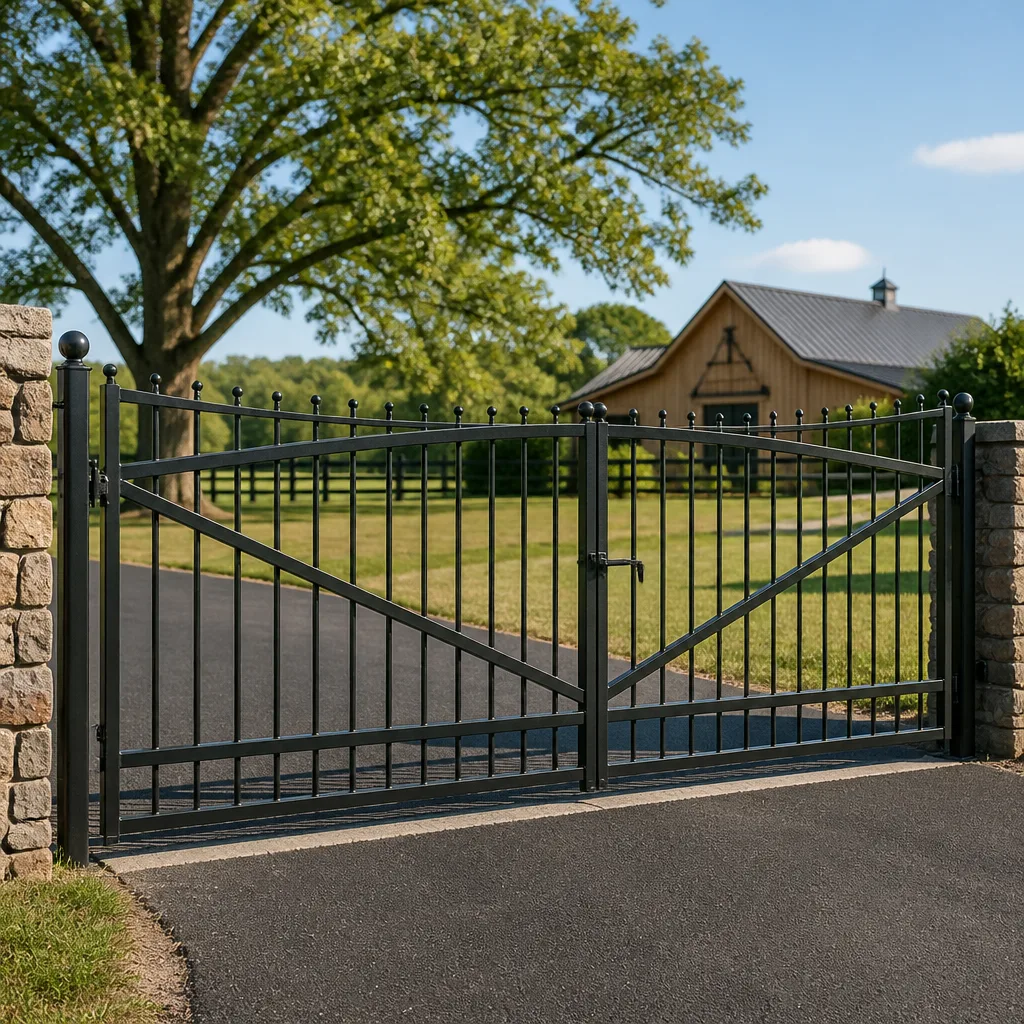 Farm & ranch
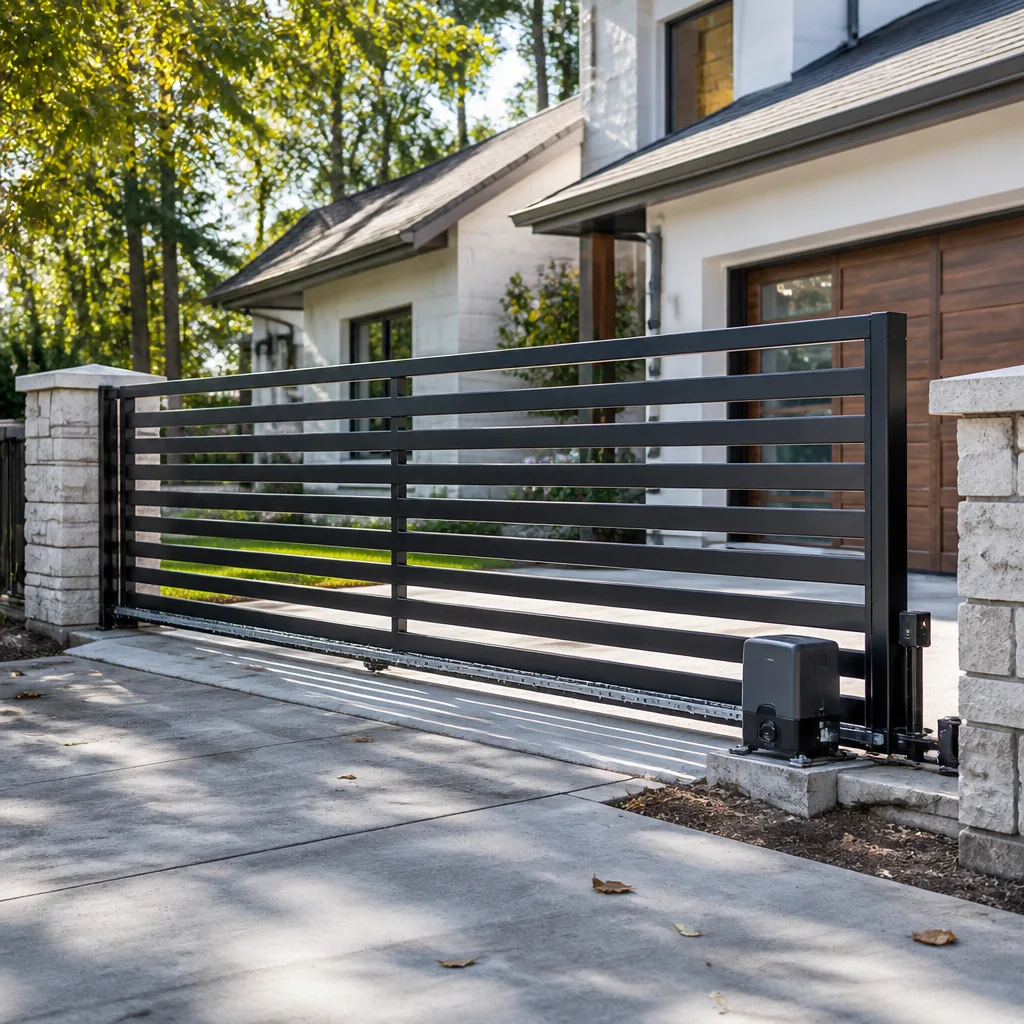 Sliding driveway gates
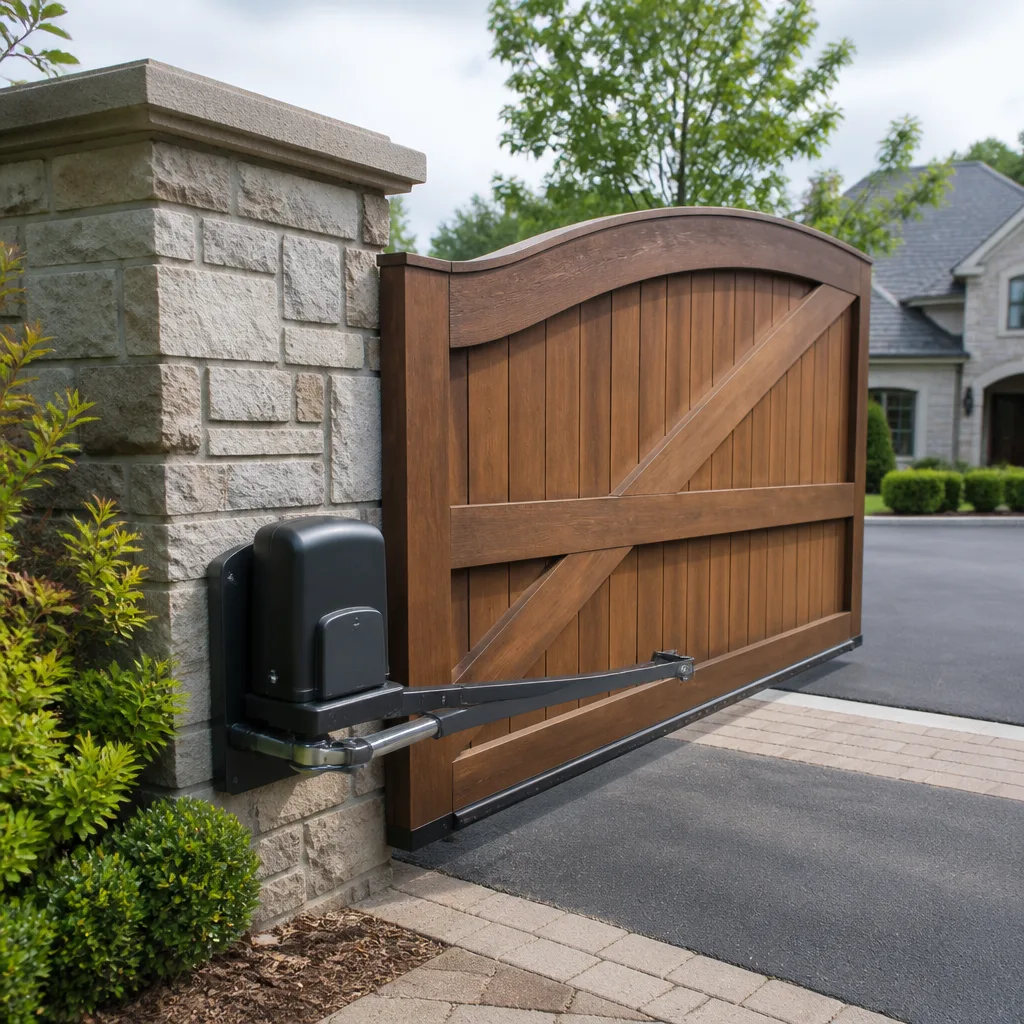 LiftMaster operators
Free on-site gate assessment - hinges, posts, and your LiftMaster or Nice gate operator checked before anything is quoted
The assessment is free and the quote is the invoice.
Get your free estimateHow Long Does Gate Installation Take? Timelines and What to Expect
The gate itself goes in faster than most homeowners expect. A standard swing gate installation in Mesquite can be mechanically complete in a single day. It’s the 72 hours of concrete cure time nobody mentions that pushes your first remote click to day four. That gap between “the crew left” and “the gate actually works” is where projects stall, tempers fray, and homeowners wonder whether something went wrong. Nothing went wrong. The clock is just longer than the install window. In this guide we’ll walk through the full project timeline in four distinct phases, explain how Mesquite’s caliche soil and summer heat change the cure schedule, cover how Clark County permits can add days or weeks before a single post is set, and give you a same-day completion checklist so you know exactly what “done” looks like before the crew pulls away.
Quick Answer
A standard residential gate installation takes about one day of active on-site work, plus 48 to 72 hours of concrete cure time before the gate is safe to operate, for a total of three to four days from post-setting to first use. Larger slide gates, complex automation, or a property needing significant ground prep can stretch the project to one to two weeks. In Mesquite, permit review and caliche excavation are the two most common reasons a job runs past its initial estimate.
Styles & brands we work with
- Wrought iron
- Wood & steel frame
- Farm & ranch
- Sliding driveway gates
- LiftMaster operators
Table of Contents
- The Four Phases of a Gate Installation Timeline
- Phase 1: Site Assessment and Permitting
- Phase 2: Ground Prep and Post-Setting
- Why Mesquite’s Caliche Soil and Summer Heat Change the Clock
- Phase 3: Panel and Hardware Installation
- Phase 4: Automation Calibration and Testing
- Slide Gates vs. Swing Gates: Same Property, Different Timelines
- Same-Day Completion Checklist: What “Done” Looks Like
The Four Phases of a Gate Installation Timeline
Most installations break down into four phases, each with its own clock. Homeowners who understand this sequence can plan around it instead of being surprised by it. The phases are cumulative, not parallel, meaning each one starts when the one before it finishes.
- Site assessment and permitting – one to ten days depending on whether a permit is required and how quickly Clark County processes it. Measured on paper, mostly. No crew on site.
- Ground prep and post-setting – one to two days. This includes marking utilities, excavating through Mesquite’s notoriously hard caliche, setting posts in concrete, and letting the footings cure.
- Panel and hardware install – four to six hours. Hanging panels, mounting hinges, welding stops and latches, balancing the gate swing.
- Automation calibration – two to four hours. Mounting the operator, wiring the controls, setting limits and force sensitivity, programming remotes and any access keypad.
The mistake we see most often is homeowners assuming the install day is the whole project. It isn’t. The install day is phase three and four combined. Phases one and two account for most of the wall-clock time. For a full scope of what we handle, see Gate Installation in Mesquite.
Phase 1: Site Assessment and Permitting
Before any post is set, the site needs to be measured, the utilities located, and the county notified if the work crosses their threshold for a permit. That threshold matters. In many Clark County jurisdictions, repairs to existing fences fall below the permit line, but installing a new gate column, pouring a new footer, or running new electrical to an automated operator typically triggers a permit pull. Permit review times fluctuate with the county’s seasonal workload. Sometimes it’s a few business days. Sometimes three to four weeks when the inspections desk is backed up after a busy spring.
During the site visit, we check a handful of things that affect the timeline downstream:
- Utility markings (call 811 first – the utility companies own this clock, not us)
- Grade and slope along the fence line, which determines post depth and whether the gate will need a low-profile operator
- Soil type and depth to bedrock, which affects excavation time
- Power supply: is there an outlet within reach of the operator, or does an electrician need to run a new circuit? That can add a week or more if it triggers a separate electrical permit
- Driveway width and gate geometry, which decides swing versus slide
If any of these items surprise us, we flag them at the written estimate stage, not on install day. That’s the whole point of phase one. Our team has up to 13 years of experience running these assessments across the Mesquite valley, and most surprises have a standard answer once you’ve seen the ground.
Phase 2: Ground Prep and Post-Setting
Ground prep is the phase that most often runs long. Setting a gate post is not the same job as setting a mailbox post. Gate posts carry real load, both from the panel weight and from the drive motor force, and they need to hold that load for decades without shifting. That means proper depth, proper concrete volume, and proper curing time. Post holes are typically two to three feet deep and twelve inches in diameter, filled with high-strength concrete mix. In Mesquite, steel-reinforced footings in caliche-hard ground often use the surrounding soil itself as the form, which is a legitimate technique but requires careful excavation.
Once concrete goes in, the clock starts. Fresh footings need 48 hours minimum before any hardware load is applied, and 72 hours is safer when the gate panel is heavy or the operator is going to push hard against it. In cool weather (a Mesquite January morning drops close to freezing), cure time can stretch. Concrete that cures too fast in hot weather can crack; concrete that cures too slow in cold weather stays soft. The crew’s job is to set the footings and let the material do its work. During that window, we’re often gone – there’s nothing to do on-site until the concrete has cured.
If we’re replacing a gate where the old posts are still sound – steel posts in good condition, no visible rust-through at the base – we can sometimes reuse them and skip the concrete delay entirely. This is one of the reasons a repair estimate can come in faster than a full installation. See Gate Repair in Mesquite for how we evaluate existing hardware before recommending replacement.
Why Mesquite’s Caliche Soil and Summer Heat Change the Clock
Mesquite is not Las Vegas, and we’ve seen plenty of contractors who work the metro forget that. Two factors make a Mesquite installation schedule different from a general “one to three days” internet answer.
The first is caliche. Caliche is a calcium-carbonate-laced soil layer that dries into a concrete-like crust across much of the Virgin Valley. Digging through it takes 30 to 50 percent longer than digging a comparable hole in the Las Vegas valley’s looser ground. On a two-post swing gate, that’s an hour of added excavator time. On a wider slide gate with three or four footings, it can stretch the ground prep phase into a second day. Homeowners who’ve had a landscaper trench the yard for irrigation in this valley already know this, but the surprise for a gate is that the post holes are deeper and must be much more precisely plumb than a drip line.
The second is summer heat. Concrete curing is a chemical reaction, and it accelerates in the heat. A Mesquite July footing that hits 110 degrees ambient can cure faster than the standard 28-day reference, but not in a controlled way. When you see a footing surface turn white and powdery within a few hours, that’s flash-drying, and it leaves the interior of the pour weak. The fix is straightforward – shade the pour, keep it damp, schedule post-setting for early morning in summer months – but it does mean a summer install may need a slightly longer cure window and a follow-up check before the panel goes up. Anyone quoting you a “next-day gate hanging” in July in Mesquite is either working around this or skipping it. We don’t skip it.
Phase 3: Panel and Hardware Installation
This is the day most homeowners picture when they think about a gate install: a crew, a truck, sparks and metal. Mechanically hanging a gate panel and mounting hardware usually takes four to six hours for a standard residential swing gate. For a slide gate, it runs a bit longer because of the track and the carriage rollers.
The order we follow on every job:
- Mount hinges or carriage wheels, then hang the panel and check swing arc or track travel
- Weld or bolt stops, latches, and any receiver brackets
- Mount any access hardware – keypad mount, intercom pedestal base, loop sensor junction box
- Adjust for grade and clearance, including a comfortable ground gap so the gate doesn’t scrape in summer heat expansion
- Test manual operation, ballast and balance before wiring anything
Balance matters more than most homeowners realize. A gate that doesn’t swing freely by hand is going to strain the operator on every cycle, which shortens motor life. We test the manual swing multiple times before we mount any automation. See Gate Motor & Opener in Mesquite for how operator selection ties into the panel weight and cycle count.
Phase 4: Automation Calibration and Testing
The last phase is the one homeowners care about most, because it’s the one that turns a gate into a gate that opens from the driveway. Automation calibration typically runs two to four hours. It involves mounting the operator on its bracket, running power and control wiring, setting open and close limits, dialing in force sensitivity, and programming every remote, keypad code, and entry device the household uses.
The brands we’re trained on behave differently during calibration. A Linear swing operator and a DoorKing slide operator have completely different limit-setting routines, and mixing up the procedure can leave you with a gate that stops halfway through its cycle. That’s why our technicians work regularly on nine major automation brands. Calibration is also where the first real safety test happens: the photo-eye beam, the safety edge on the leading edge of the panel, and the obstruction-reversal force setting all get verified before anyone drives through the gate. If a gate closes on a car, a child, or a dog because the force setting was never dialed down, the installation wasn’t finished. We treat that step as non-negotiable. A Viking or Ghost Controls system with the safety edge wired correctly will reverse on contact; one that was rushed will not.
Once the panel is hung and the automation is calibrated, we walk the homeowner through the full cycle – open, close, stop on obstruction, remote, keypad – before we leave. If a part needs to be special-ordered, we schedule the calibration visit for when it arrives rather than leaving the gate in limbo.
Slide Gates vs. Swing Gates: Same Property, Different Timelines
Homeowners often ask whether a slide gate takes longer than a swing gate. On the same driveway, the answer is almost always yes – usually by half a day to a full day, sometimes more depending on the run.
- Swing gate: two posts, hinges, a swing operator, and a run of low-voltage wire to the keypad. Fastest path to a working gate. Standard timeline: one install day plus cure.
- Slide gate: a longer track or cantilever carriage, a heavier operator, and a concrete pad or footing run that spans the full travel of the panel. Ground prep takes longer, the panel is heavier, and the operator needs more calibration time on the limits. Standard timeline: one to two install days plus cure.
- Double swing: two panel leaves, two operators (or one with a slave arm), and coordination between the leaves. Add half a day.
- Slope or uneven grade: any of the above on a slope adds time for post depth and operator placement. Slide gates on a slope usually need a cantilever style rather than a track, which is a different install sequence.
If a driveway has room to swing inward, a swing gate is almost always the faster and simpler install. If the driveway is short or the gate needs to clear a slope, a slide gate is the right call even though it costs more scheduling time. Our team will walk the property with you and quote both paths so you can see the trade-off in writing.
Same-Day Completion Checklist: What “Done” Looks Like
Before the crew leaves, a properly completed installation should pass every item below. If it doesn’t, the job isn’t done – regardless of what time it is. Use this as your own checklist when the crew walks you through the finished work.
- The gate swings or rolls freely by hand with the operator disengaged
- Both open and close limits are set with no overshoot or stall at either end
- Force sensitivity is dialed in so the gate reverses on a light obstruction (test with a 2×4 or a rolled-up towel, never a person)
- The photo-eye beam is aligned and breaks the close cycle when blocked
- The safety edge on the leading edge triggers reverse on contact
- All remotes work from their intended range, including from inside the garage
- Every keypad code works and any temporary installer codes are cleared
- The backup battery (if the operator has one) is tested with the main power off
- The homeowner has been walked through the manual release procedure
- The written 90-Day Done Right Promise is left on-site with the completed work
We don’t leave a job before every one of these is verified. The Keystone Standard exists because the last thing a homeowner wants is a gate that worked for the walk-through and stopped working the next morning.
Common Mistakes to Avoid
- Booking the install before the permit is pulled. In Clark County, we’ve seen homeowners wait weeks with a half-finished gate because the permit was filed late. Permit first, schedule second.
- Driving the gate through freshly set concrete. The single biggest cause of post failure we see in Mesquite is a homeowner opening the gate too soon because the family needed out for work. Wait the full cure window, or have the crew install the operator on a separate visit.
- Skipping the 811 utility call. A post hole through a buried irrigation main or a low-voltage landscape feed turns a one-day job into a mid-project plumbing emergency.
- Choosing the operator before choosing the gate weight. A DoorKing or Linear operator sized for a light residential panel will burn out quickly on a heavy ornamental gate. The gate dictates the operator, not the other way around.
- Ignoring the summer flash-cure problem. July footings in this valley can surface-crack in hours if the pour isn’t shaded and damp-cured. Ask your installer how they handle heat.
- Not testing the safety devices on handover. A gate that closes without a working photo-eye and safety edge is a hazard. Insist that the walk-through includes an obstruction test.
- Forgetting the manual release drill. When the power goes out (and in Mesquite it does, usually in a summer thunderstorm), the homeowner needs to know how to release the gate by hand. That’s a five-minute conversation that saves a callout later.
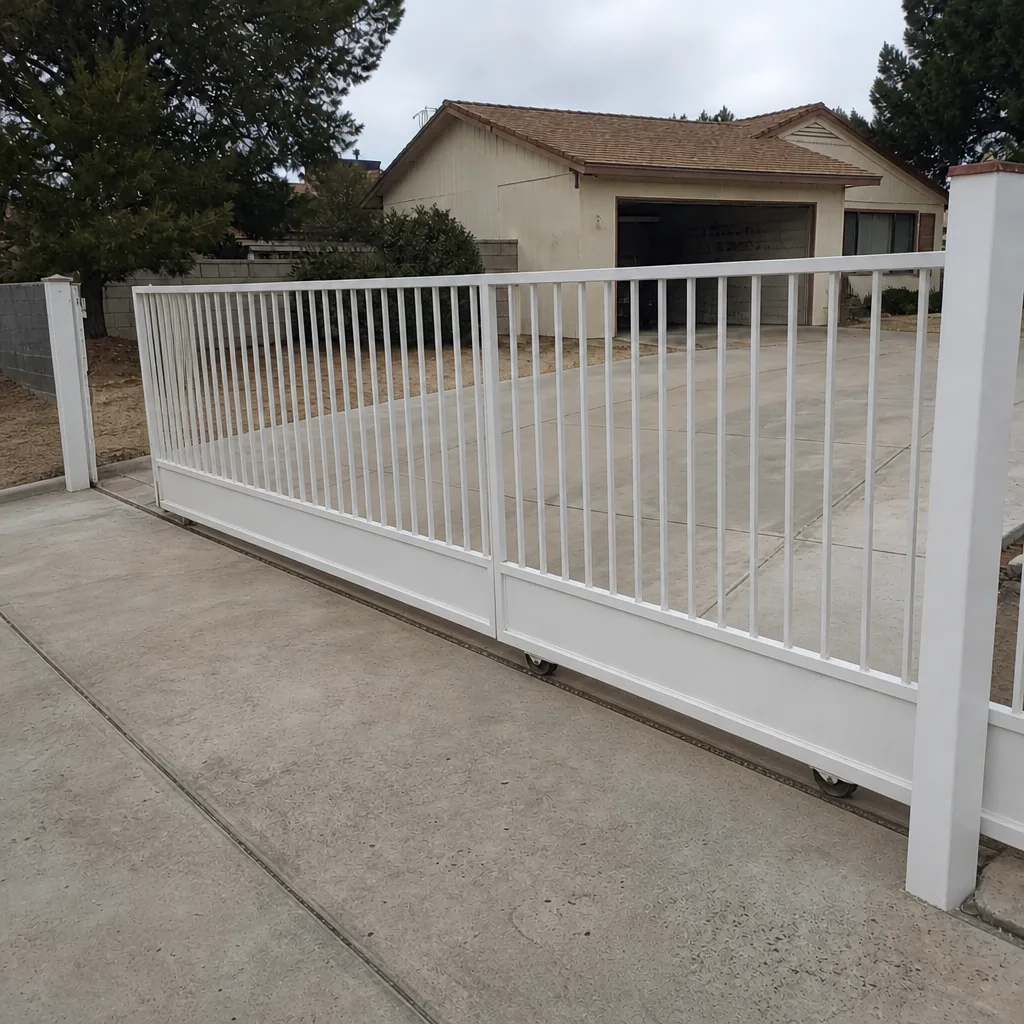
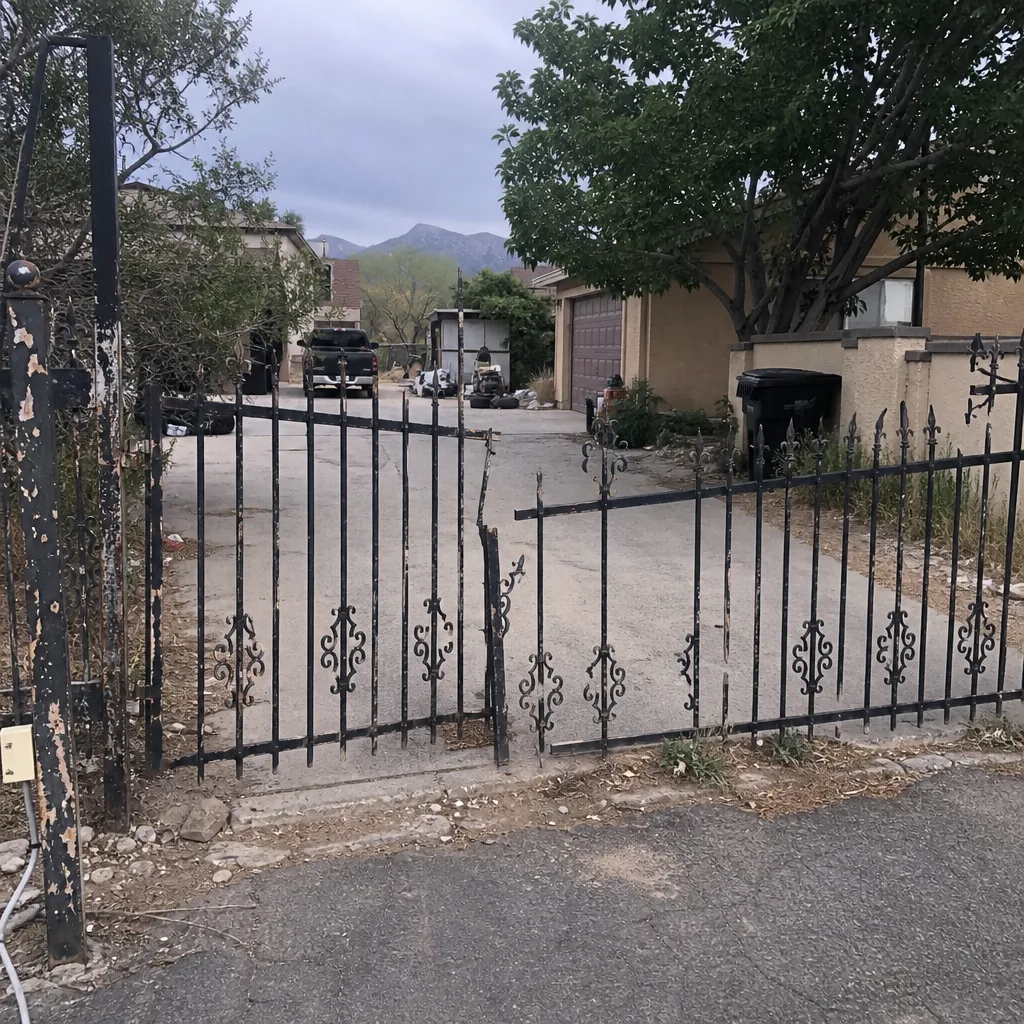
See the difference
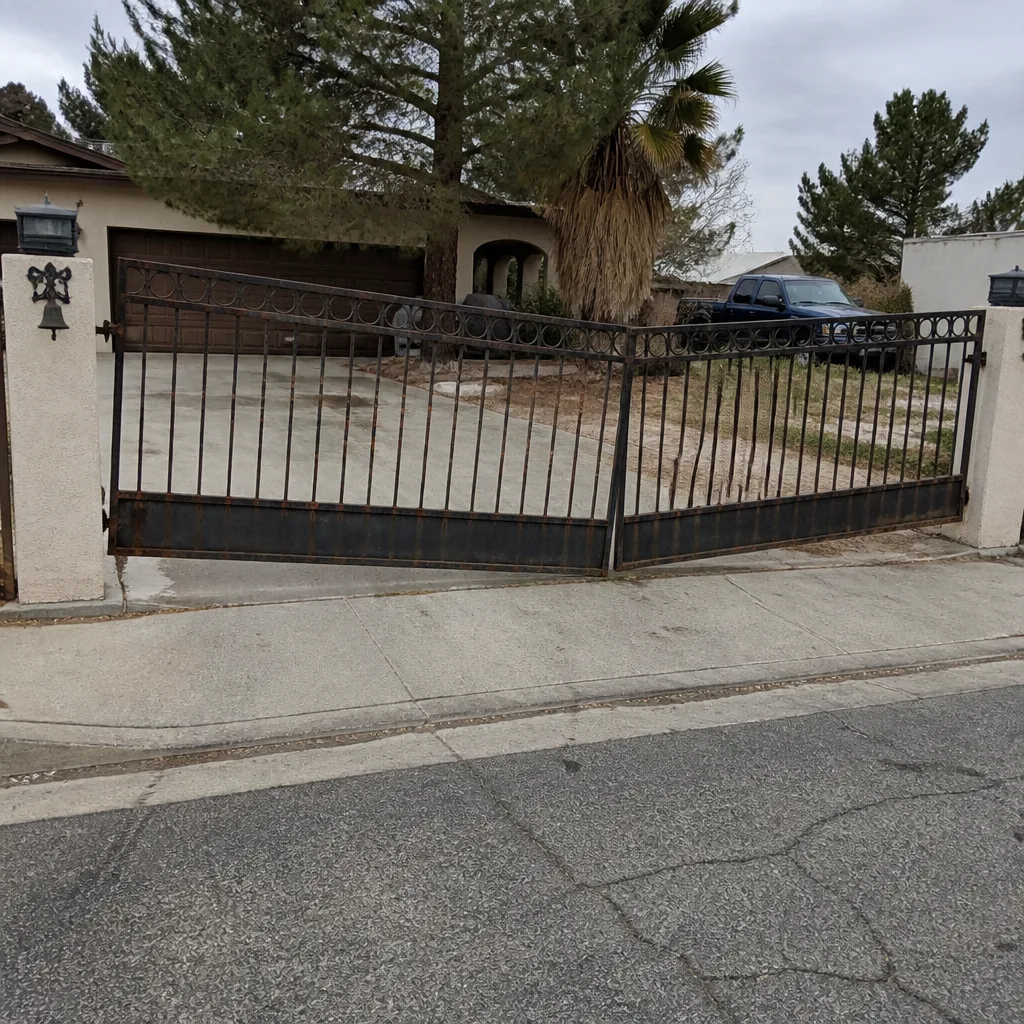 Before
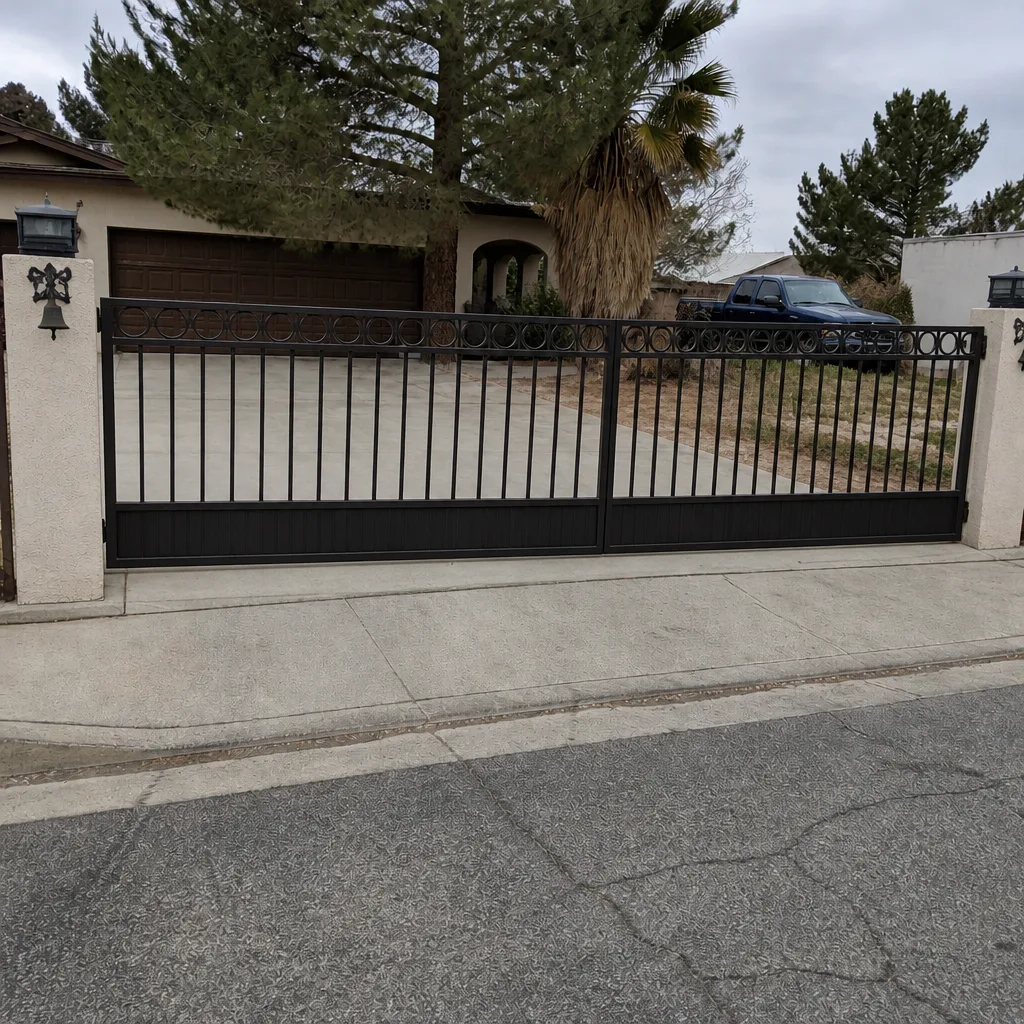 After
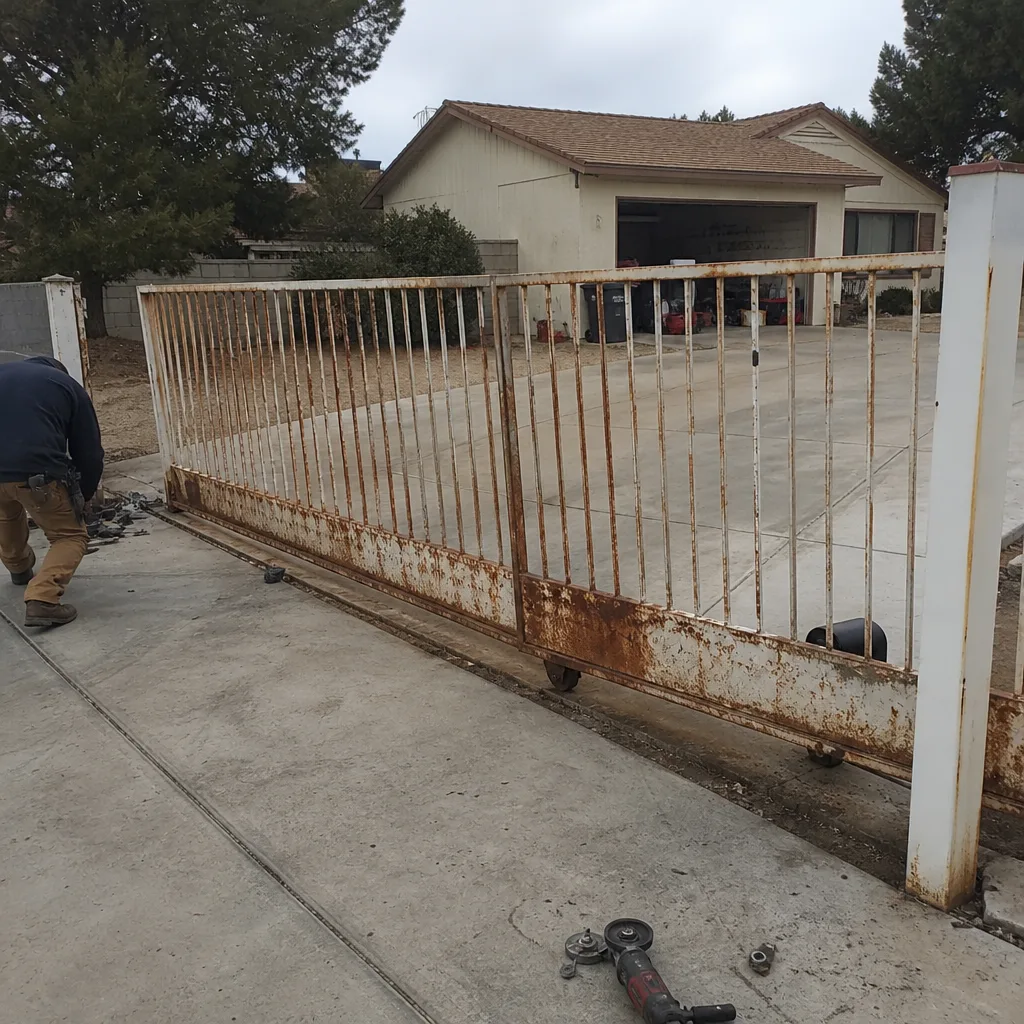 Before
 After
 Before
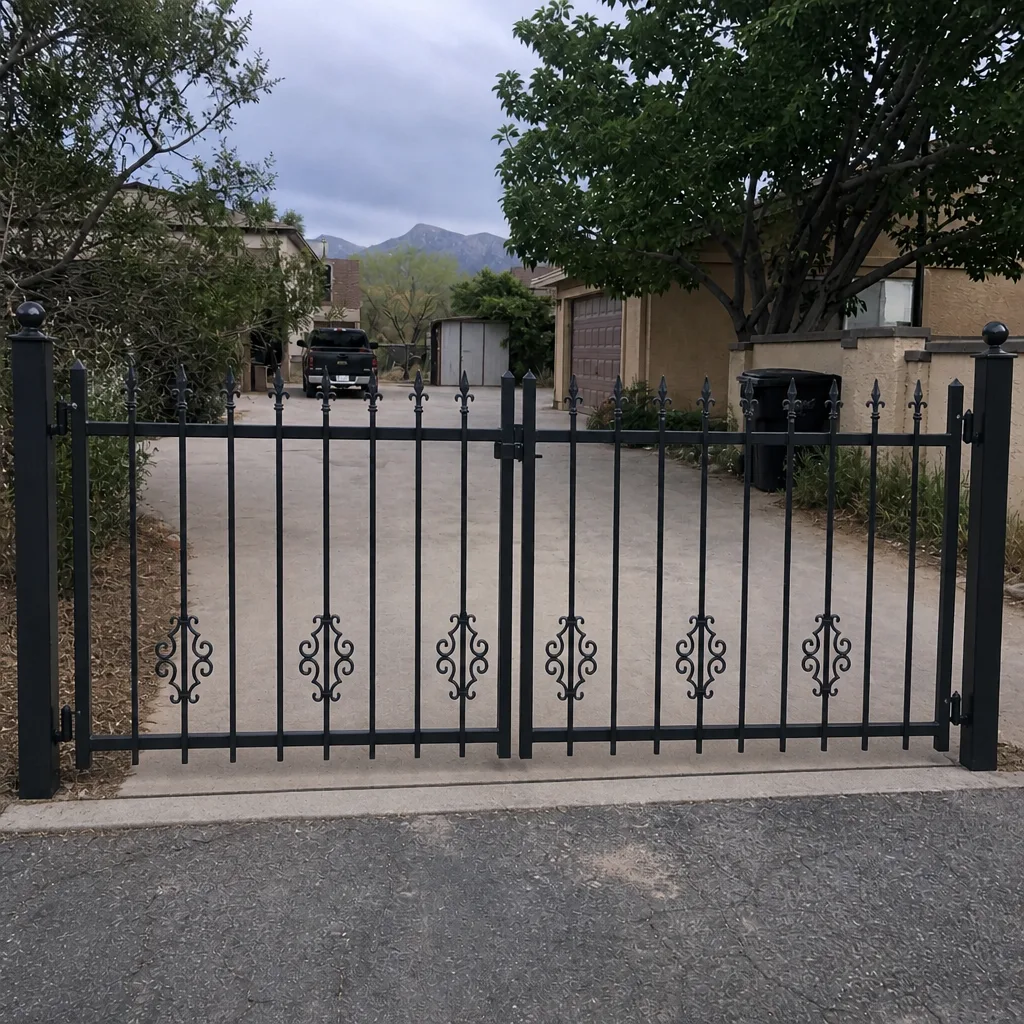 After
When to Call a Professional
Some gates are simple enough for a confident homeowner to adjust – tightening a hinge bolt, replacing a remote battery, resetting a tripped keypad. Everything else belongs to a trained installer. Call us before you start if any of the following is true:
The gate posts are steel set into concrete and one is leaning (settling is a structural issue, not a hardware tweak). The operator is straining or stalling on a panel that used to move easily (the issue is almost never the motor alone). Your driveway has significant slope and you’re not sure which gate style will work. The existing gate has never been automated and you want to add an operator. Or you have a contractor’s written estimate in hand and want a second opinion before you sign.
The safety equipment on automated gates – photo-eyes, safety edges, force limits – is the difference between a convenience and a hazard. A gate that doesn’t reverse on obstruction can injure a person or damage a vehicle, and getting that setting right is not a homeowner task. Ironworks Gate Co. Mesquite offers free estimates in Mesquite – call (844) 797-2573 and we’ll walk the property with you. We’re on the phone 24 hours a day, 7 days a week, and a live person answers every call.
Frequently Asked Questions
Most residential gate installations in Mesquite take one day of on-site work plus 48 to 72 hours of concrete cure time, for a total of three to four days from post-setting to first use. A garage-style swing gate is the fastest; a slide gate with a long track or a slope can run to five to seven days. Call (844) 797-2573 for an exact estimate for your property.
It depends on the scope. Replacing an existing gate panel on sound posts usually doesn’t require a permit. Installing new posts, pouring new footings, or running new electrical for an automated operator typically does, and Clark County reviews can add one to four weeks to the timeline. Ask any installer upfront who is pulling the permit and when – the answer should be specific.
Not safely on new concrete footings. The gate panel can be hung and the automation calibrated on install day, but the gate shouldn’t be driven through until the concrete has cured at least 48 hours, and 72 hours is safer. If the posts were already in place and sound, same-day use is possible.
Caliche is a hard, calcium-carbonate crust common in Virgin Valley soil, and it slows post-hole excavation by 30 to 50 percent compared to looser ground. On a multi-post slide gate, that can stretch ground prep into a second day. It’s one reason Mesquite gate installs can run longer than the same job in Las Vegas.
Yes, usually by half a day to a full day. A slide gate needs a longer concrete pad or cantilever carriage, a heavier operator, and more calibration time on the limits. A standard swing gate is the fastest path to a working gate on most driveways.
We come back and make it right, no paperwork and no arguing. Every completed Ironworks installation is backed in writing for 90 days, whether the issue is a miscalibrated limit, a failed motor, or a hardware fault. Call (844) 797-2573 and a live person will schedule the return visit.
The Bottom Line
The install day is the shortest part of a gate project. Site assessment, permit review, ground prep, and concrete cure account for most of the calendar time, and in Mesquite the caliche soil and summer heat stretch those phases further than most online timelines admit. Slide gates take longer than swing gates. Summer installs need more cure diligence than winter ones. Before the crew leaves, the gate should pass a full completion checklist that includes the safety devices and the manual release drill, not just a working remote. If you plan around the full project clock – not just the install window – you’ll get a gate that arrives on schedule and stays right for decades. For a written estimate on your property, see Ironworks Gate Co. Mesquite home or call (844) 797-2573. Phone lines are open 24 hours a day, 7 days a week, and a live person answers every call.
Get a Free Written Estimate
Tell us about your property, your driveway, and your gate goals. We’ll walk the site, measure the run, check the soil and grade, and hand you a written price before a single bolt is turned. No pressure, no surprises on the bill. If you have a contractor’s estimate in hand already, we’re glad to give a free second opinion. Standing offers include $50 Off Any Repair Over $250, an $89 Seasonal Tune-Up, and a permanent 5% discount for seniors and veterans. Call (844) 797-2573 for a free estimate, or reach out through our Gate Installation in Mesquite page for a scheduled site visit.
Written by the team at Ironworks Gate Co. Mesquite.